MasterMind Programs
Explore the complete MasterMind ecosystem—from foundational leadership to advanced strategy and team development. Each program is designed to build on the last, helping you grow your practice with confidence, clarity, and connection.

Foundations MasterMind
Entry program into the MasterMind ecosystem
- 6-month growth journey with 3 in-person events: Clarity, Action, and Momentum
- Monthly 1:1 coaching sessions for personalized guidance
- Monthly group office hours for shared learning and Q&A
- KPI tracker, accountability check-ins, and customized growth planning
- Online Case Acceptance Bootcamp with frameworks for communication and conversion
- Live team workshops to align your staff and implement new systems
- Full access to the 3D online community including tools and a connected community of dentists like you
- Access to Mastermind Foundations online community including workflow videos
Not a MasterMind member?
Advanced MasterMind
Unlock access after completing Foundations MasterMind
- Full access to Foundations MasterMind program
- Quarterly in-person retreats for leadership development, financial planning, and business strategy
- Complimentary ticket to the annual 3D Summit and access to exclusive content
- Quartlery 1:1 strategy sessions for personalized guidance
- Monthly 1:1 accountability check ins with Mastermind director
- Growth Club membership
- Monthly group office hours for shared learning and Q&A
- Cash Flow & Overhead Management course to maximize profitability
- Annual Business Planning Workshop to align team vision and performance
Not a MasterMind member?
Team training is available in Advanced MasterMind
Team Member Bootcamps
Accessible in Advanced MasterMind
- Full access to all department-specific bootcamps: Hygiene, Treatment Coordinator, Case Acceptance, and Office Manager
- Online learning modules and templates tailored to each team member's role
- Implementation playbooks and leadership tools to support daily execution
- Access to live Q&A sessions with 3D coaches for troubleshooting and training
- Integration with the 3D online platform for communication and learning tracking
Not a MasterMind member?
Office Manager MasterMind
Unlock access after completing Foundations MasterMind
- Custom-built program for office managers focused on leadership, systems, and scheduling
- Monthly coaching and role-specific mentorship
- Templates for HR, reporting, meeting agendas, and accountability systems
- On-demand learning modules for long-term development
- Built-in community for collaboration and live support
- Full access to Team Bootcamps, Advanced, and Foundations content
- Monthly group office hours
Not a MasterMind member?
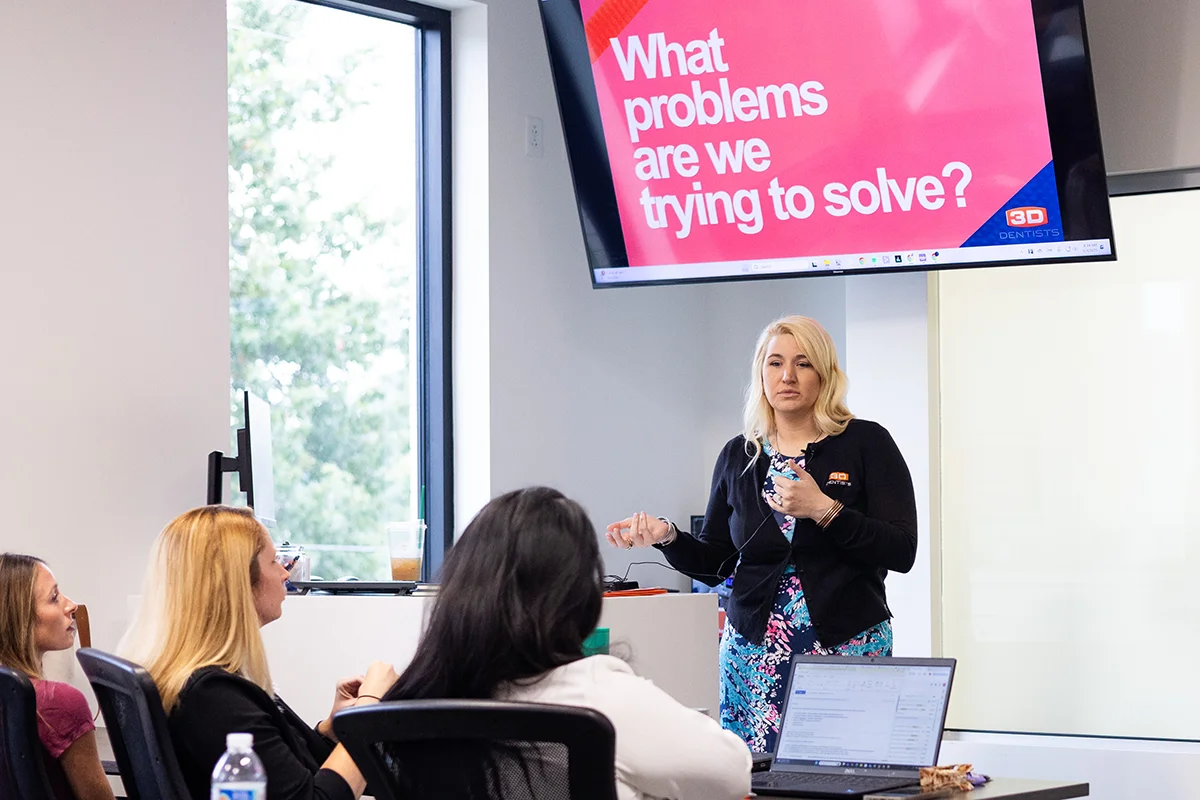
Foundations MasterMind helps you lead with clarity and implement with confidence
This is where your MasterMind journey begins. Foundations is a 6-month immersive experience that helps you lead with clarity, build systems that scale, and unite your team around a shared vision. You’ll move through Clarity, Action, and Momentum—three transformational events designed to level up your leadership potential and set your practice on a path for sustainable growth.
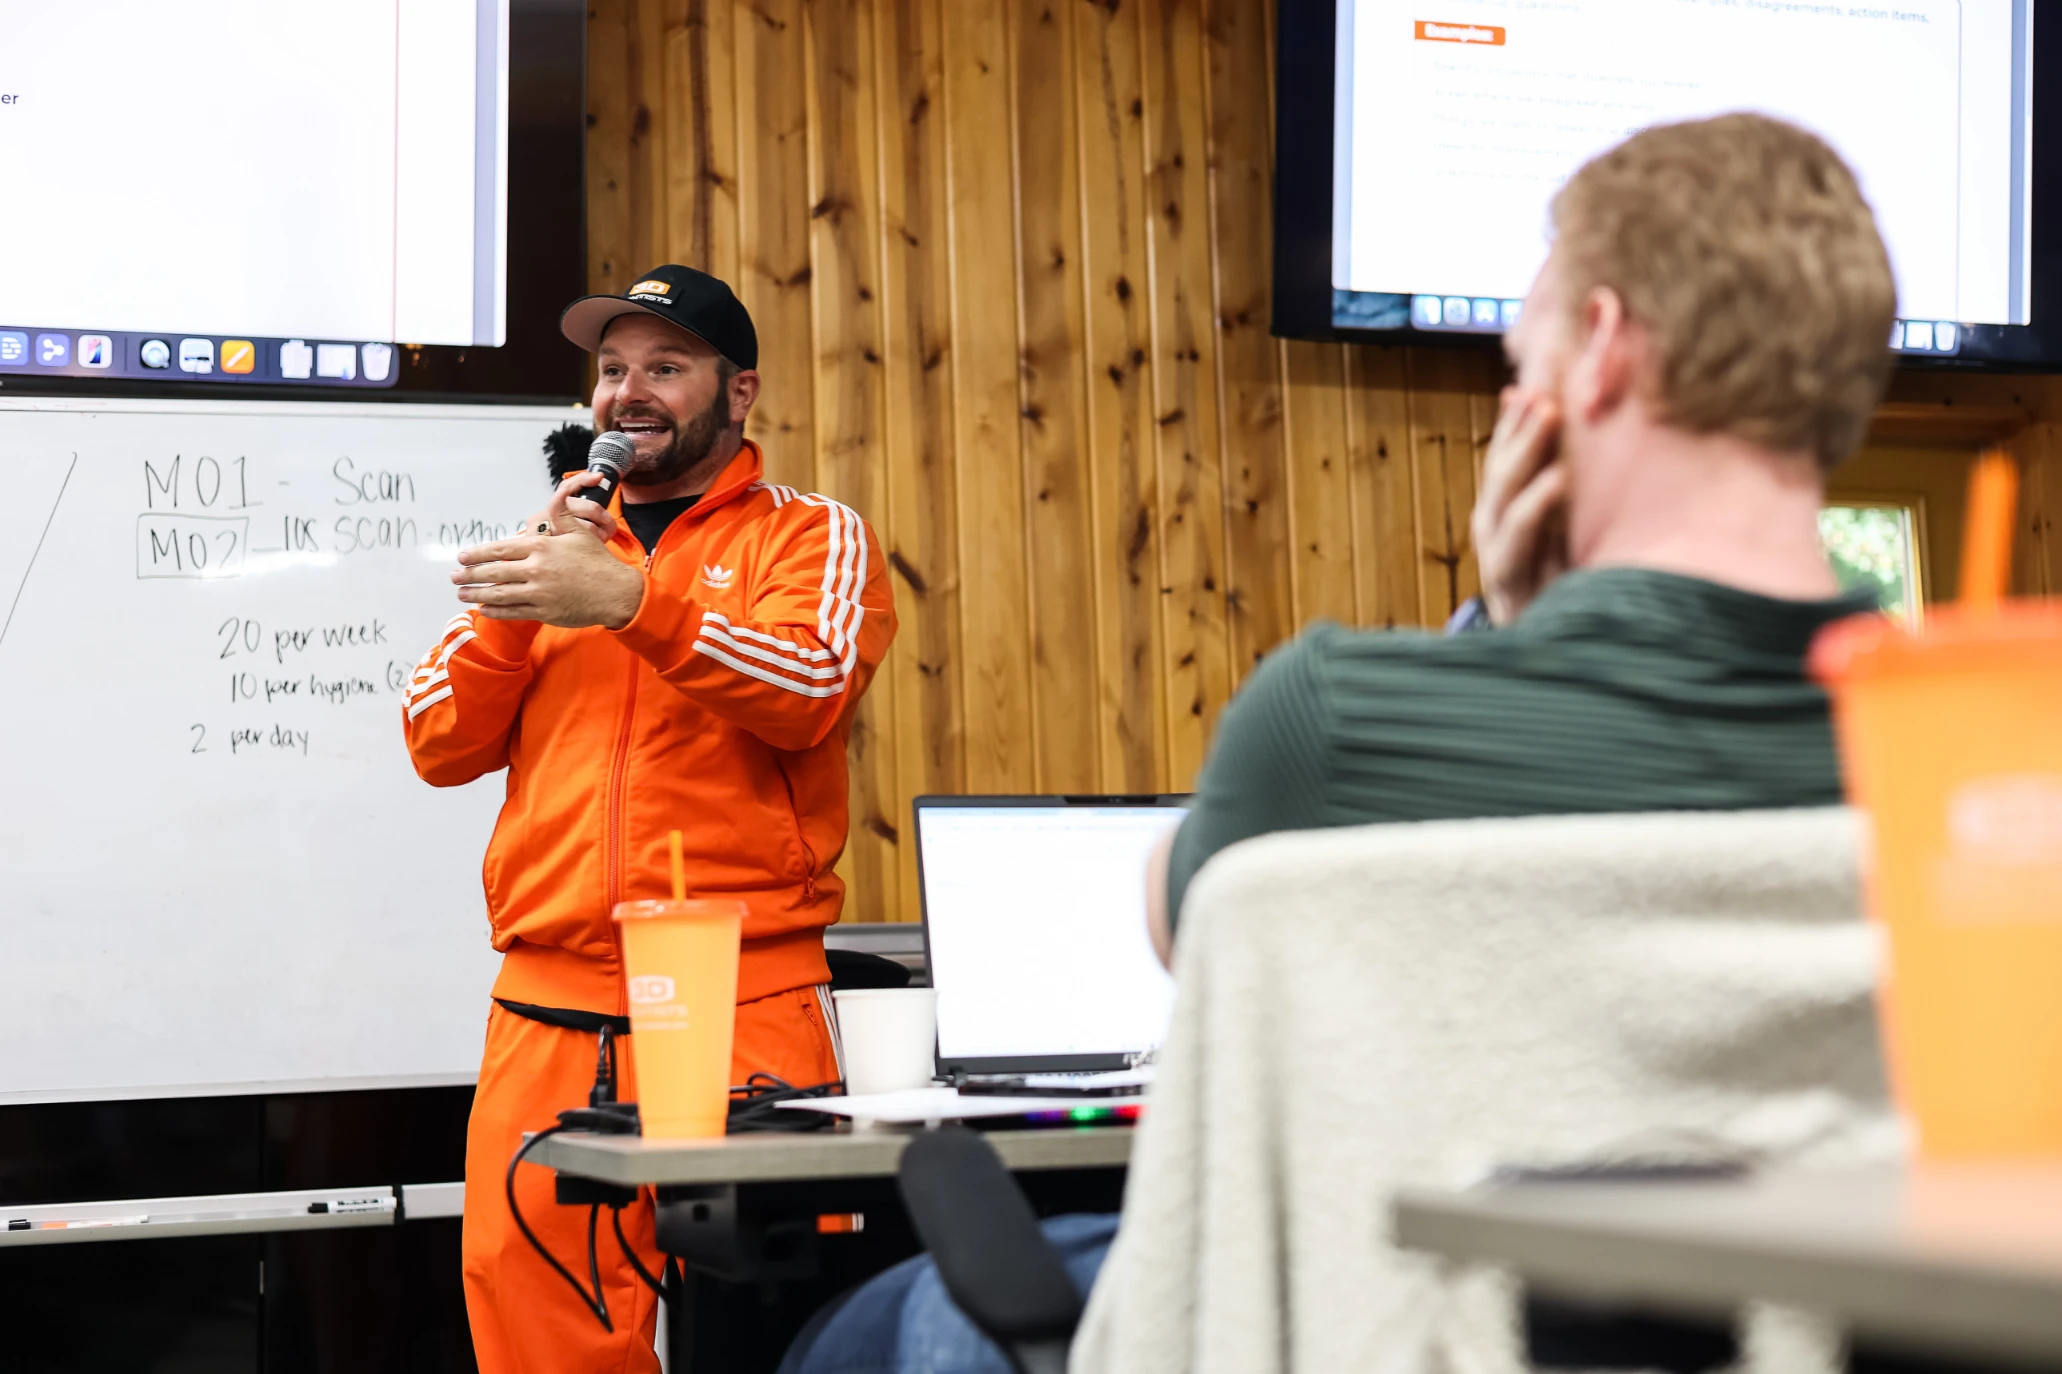
Team Bootcamps empowers every team member with tools to thrive
Team Bootcamps deliver department-specific training designed to elevate your entire staff. From case acceptance to hygiene and scheduling, each team member gains the tools, scripts, and systems needed to perform at their best. These programs makes growth sustainable by building shared ownership and role-based leadership at every level.
Unlock access after completing Foundations MasterMind

Advanced MasterMind gives you the tools to scale and sustain success
Once you’ve completed Foundations, Advanced MasterMind unlocks the next level of strategic growth. This program is built for owners ready to refine their financials, grow their leadership, and scale intentionally. With live retreats, deep-dive planning, and advanced systems training, you’ll take your business and leadership to new heights. Includes access to Team Bootcamps and Office Manager Mastermind.
Unlock access after completing Foundations MasterMind

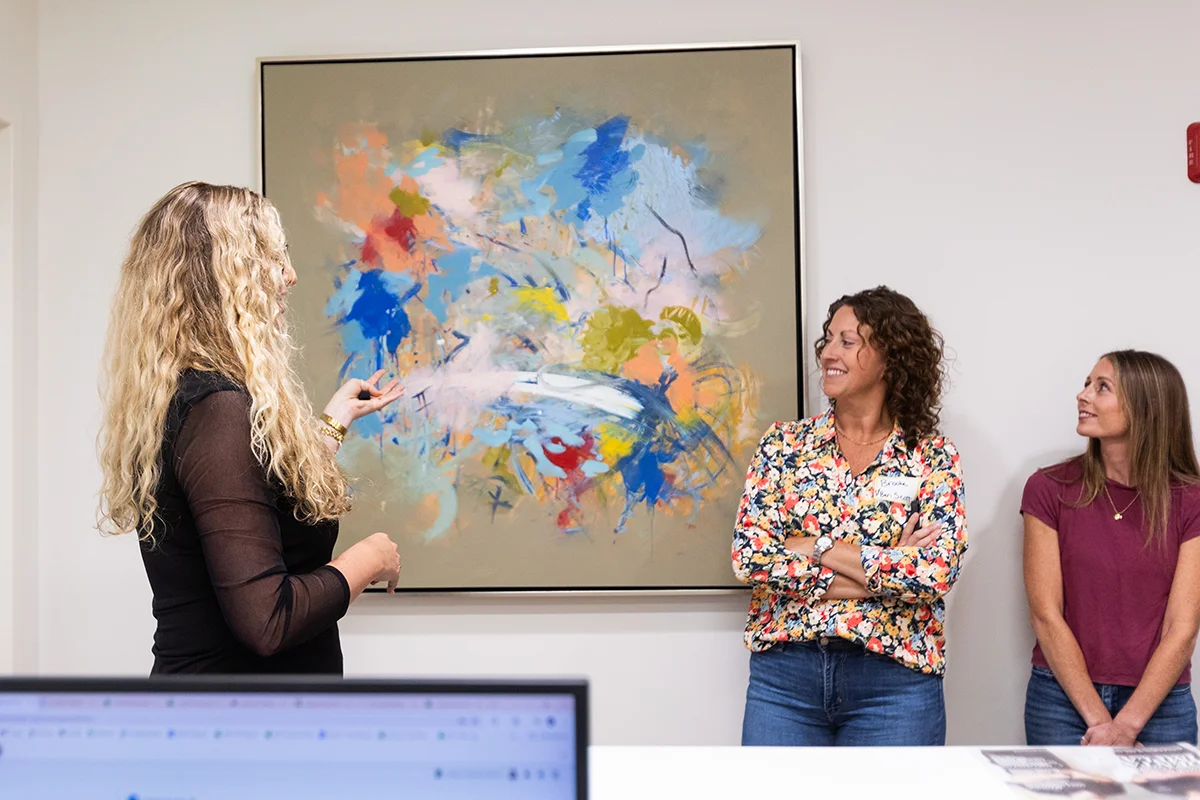
Office Manager MasterMind builds confident leaders
This program is dedicated to your most important non-clinical leader: your office manager. Whether they’re new to the role or growing into leadership, this bootcamp equips them with the systems, structure, and confidence to lead. We cover everything from scheduling and team accountability to HR tools and reporting.
Unlock access after completing Foundations MasterMind
Your MasterMind path
Start with MasterMind Foundations
Foundations is a 6-month program that helps you streamline your systems, strengthen your leadership, and unite your team around a clear, scalable strategy. You’ll move through three key phases—Clarity, Action, and Momentum—supported by coaching, tools, and training that set you up for long-term success.
Unlock all Advanced MasterMind programs
After completing Foundations, you’ll unlock our complete suite of advanced offerings—ranging from quarterly retreats and business planning to financial mastery, marketing strategy, and team-specific leadership training. This is where you stop reacting and start leading proactively with clarity and confidence.
Enjoy ongoing support
You’ll get 1:1 coaching, group sessions, community support, and access to every tool in the MasterMind ecosystem. Whether you're troubleshooting a challenge or scaling to the next level, our coaches, curriculum, and peers are here to help you stay focused and make meaningful progress year-round.
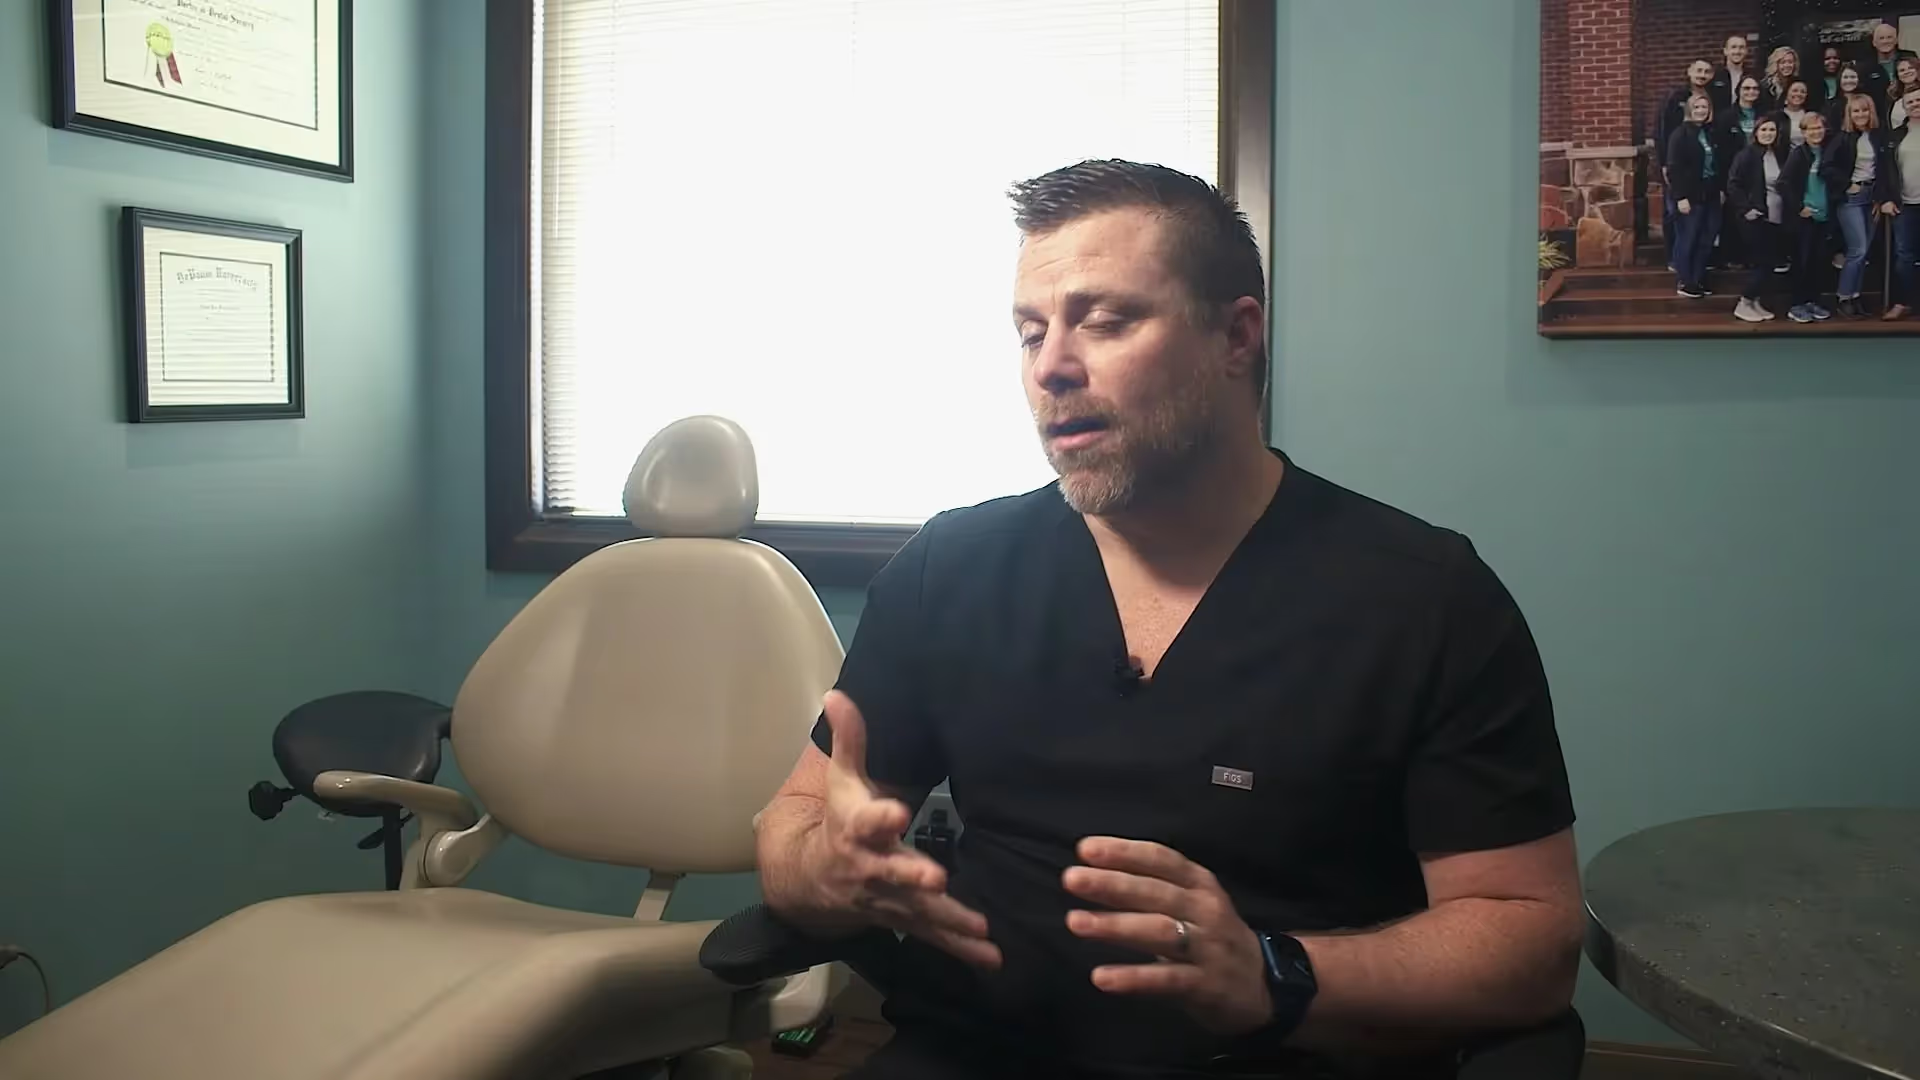
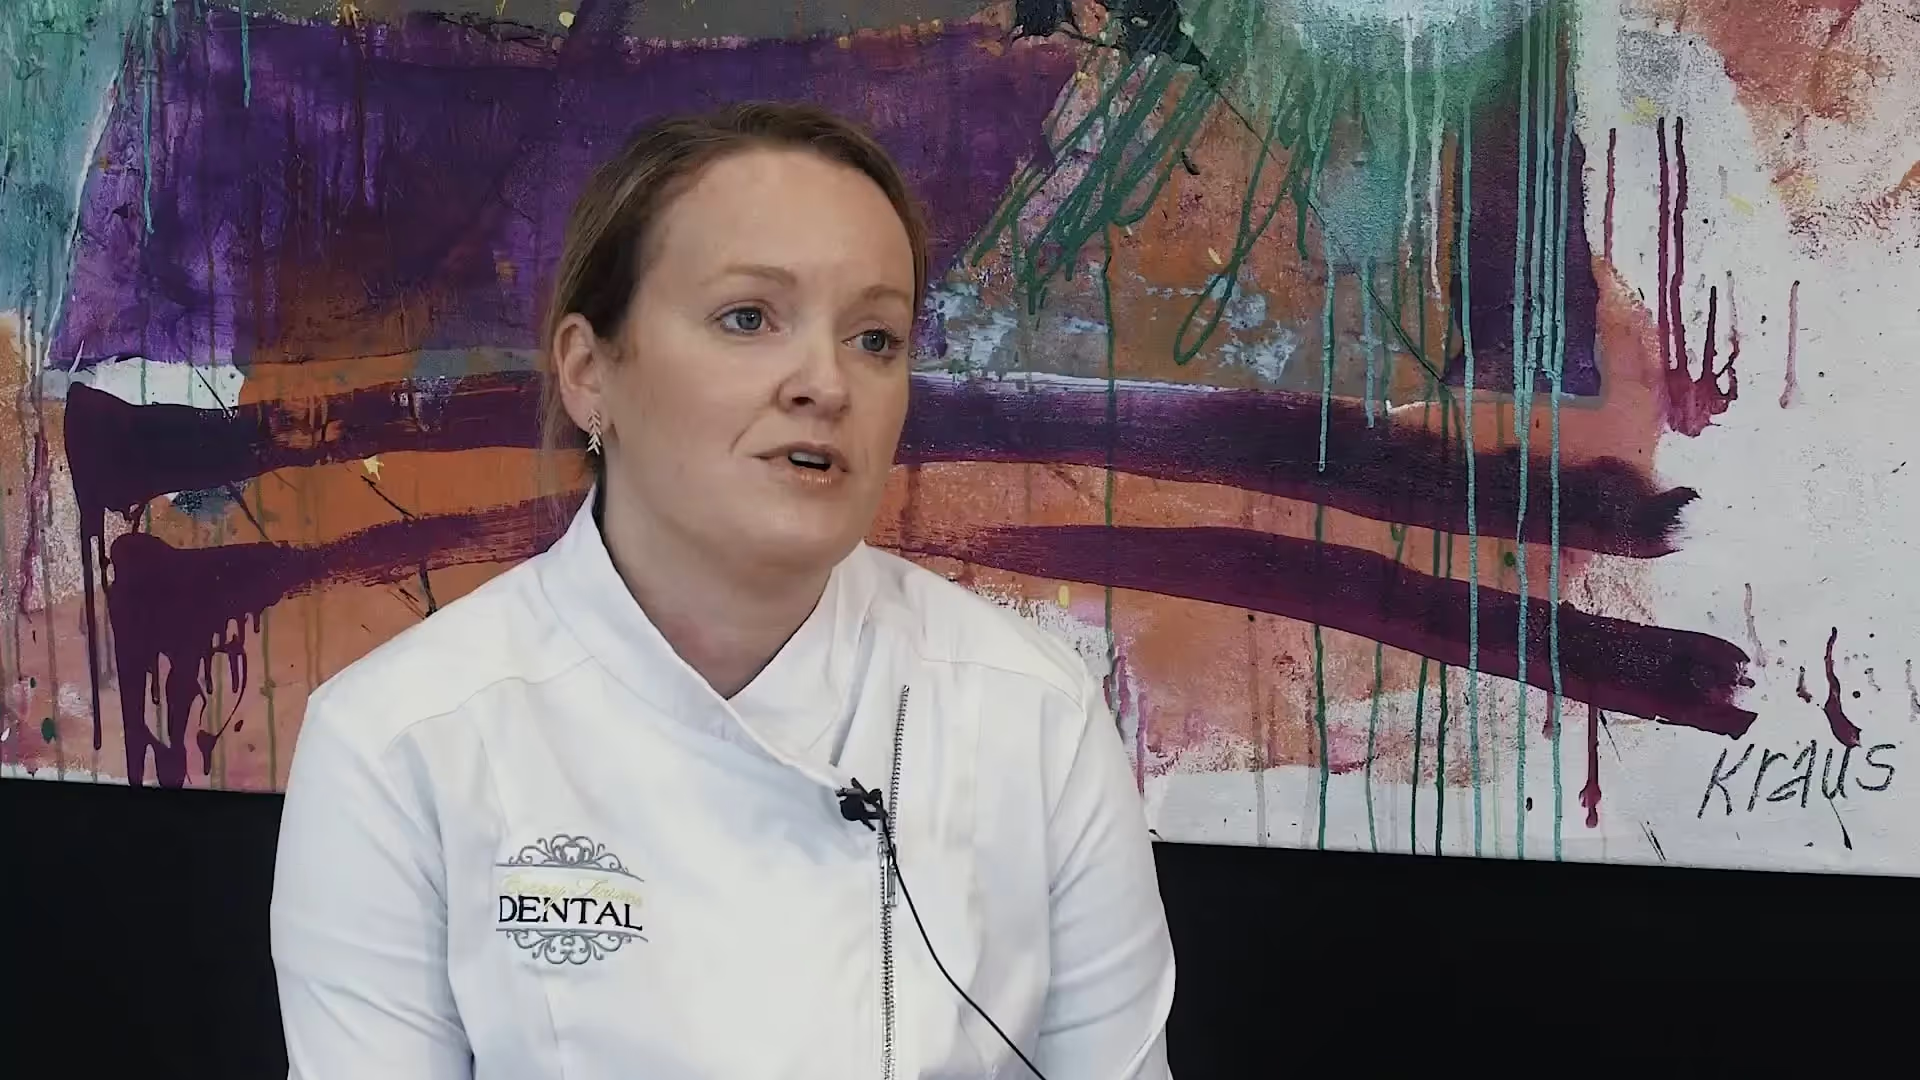
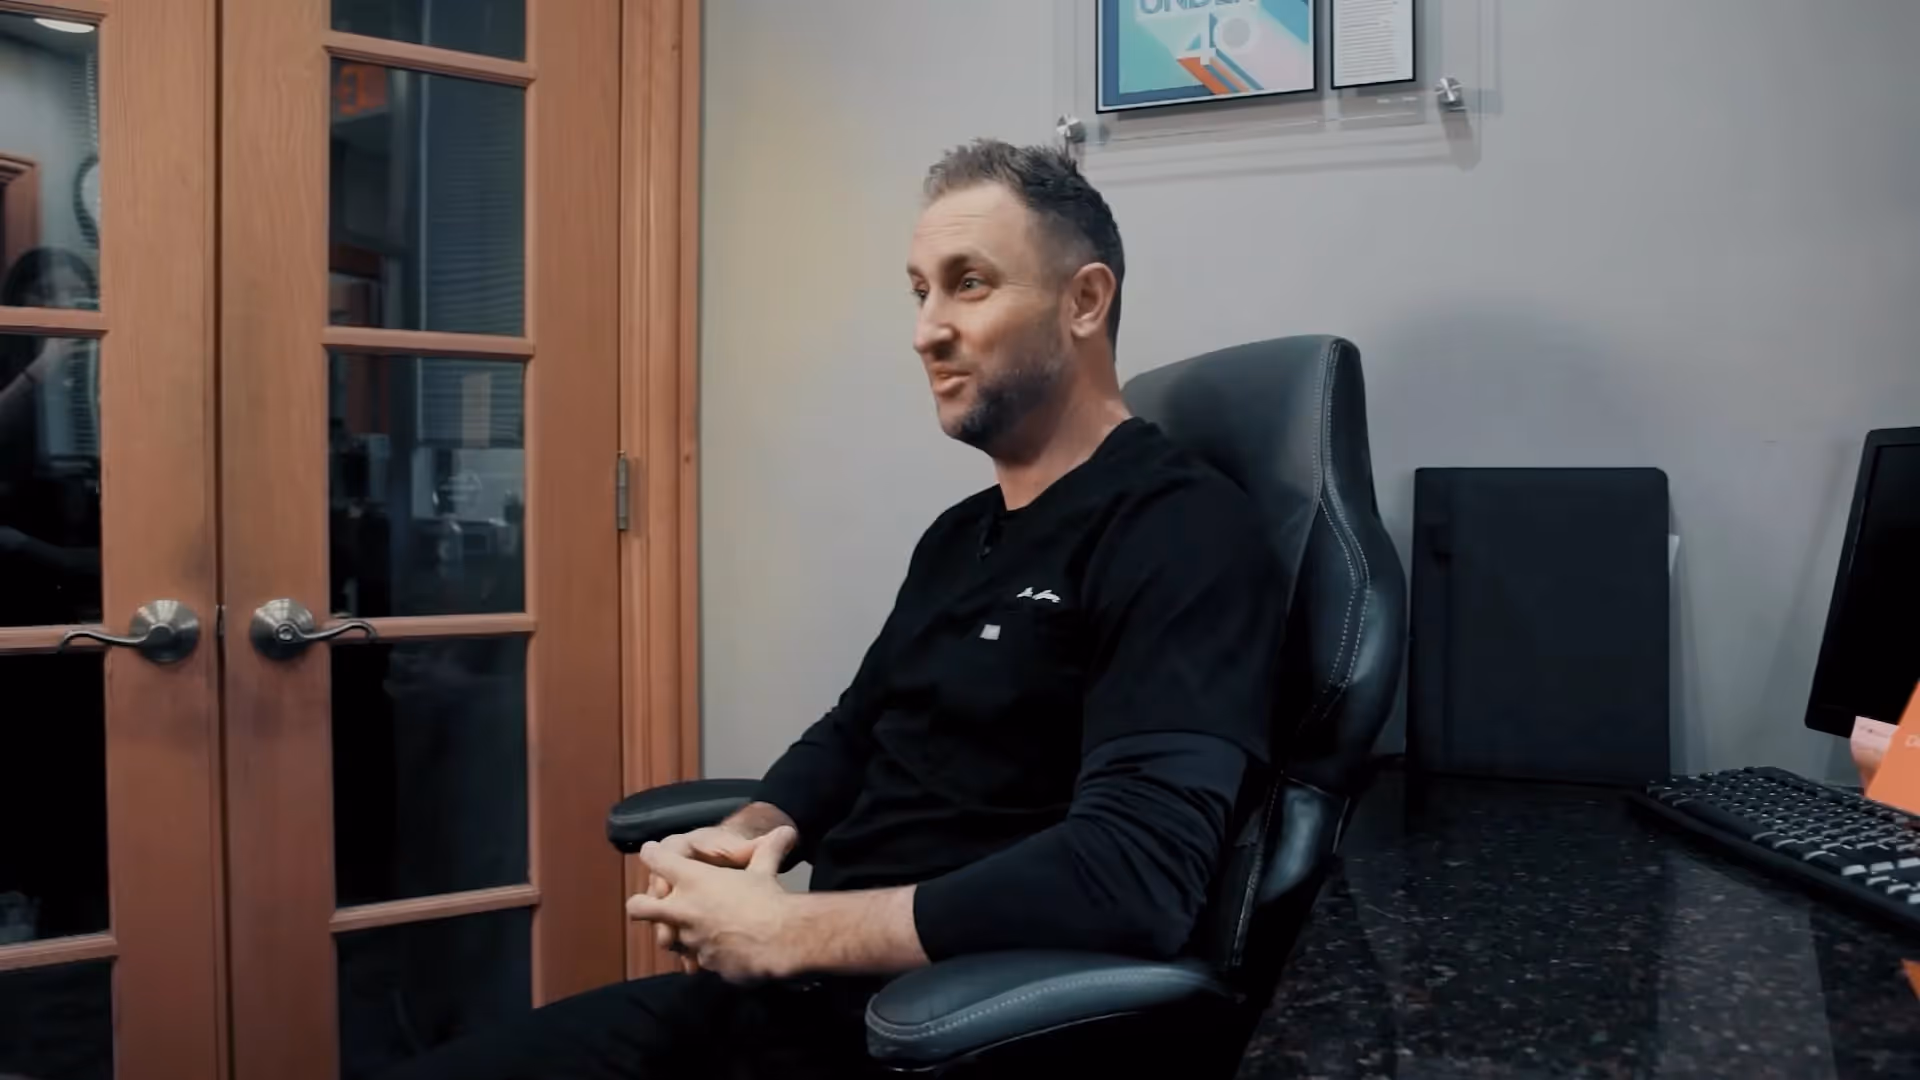
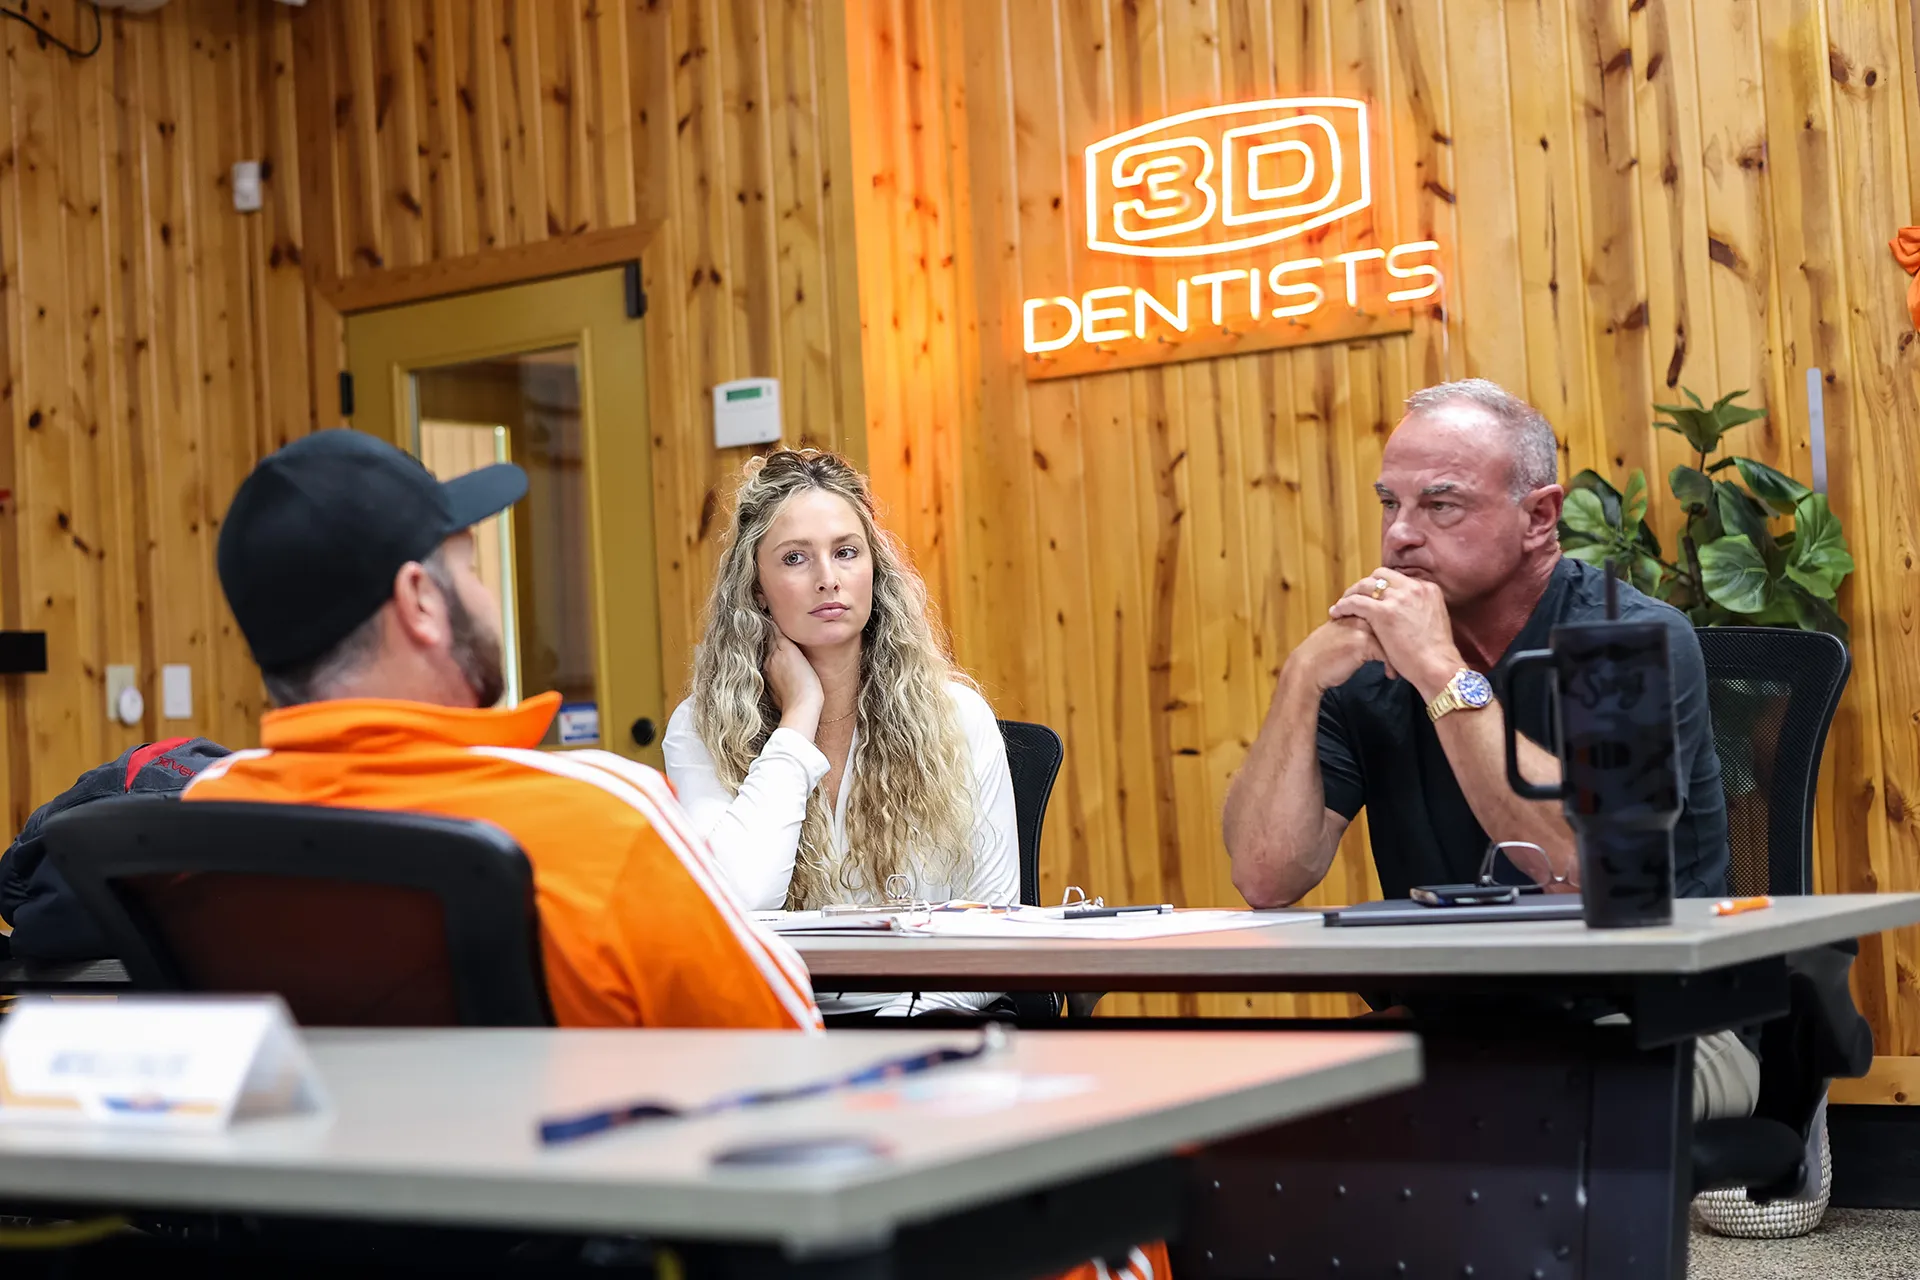
See MasterMind in motion
Meet your
instructors


FAQs
Yes—Foundations is your entry point. It’s designed to establish leadership systems and a team culture that makes every other program more effective. Once you’ve completed Foundations, you unlock access to all advanced training programs.
When you enroll, you get access to the entire ecosystem—but you don’t have to do everything at once. The MasterMind structure is designed to meet you where you are and support your growth step by step.
If you’re a dentist looking to grow, build a more efficient practice, and lead with clarity, you’re ready. Whether you're just getting started or scaling a high-production practice, there's a MasterMind path for you.
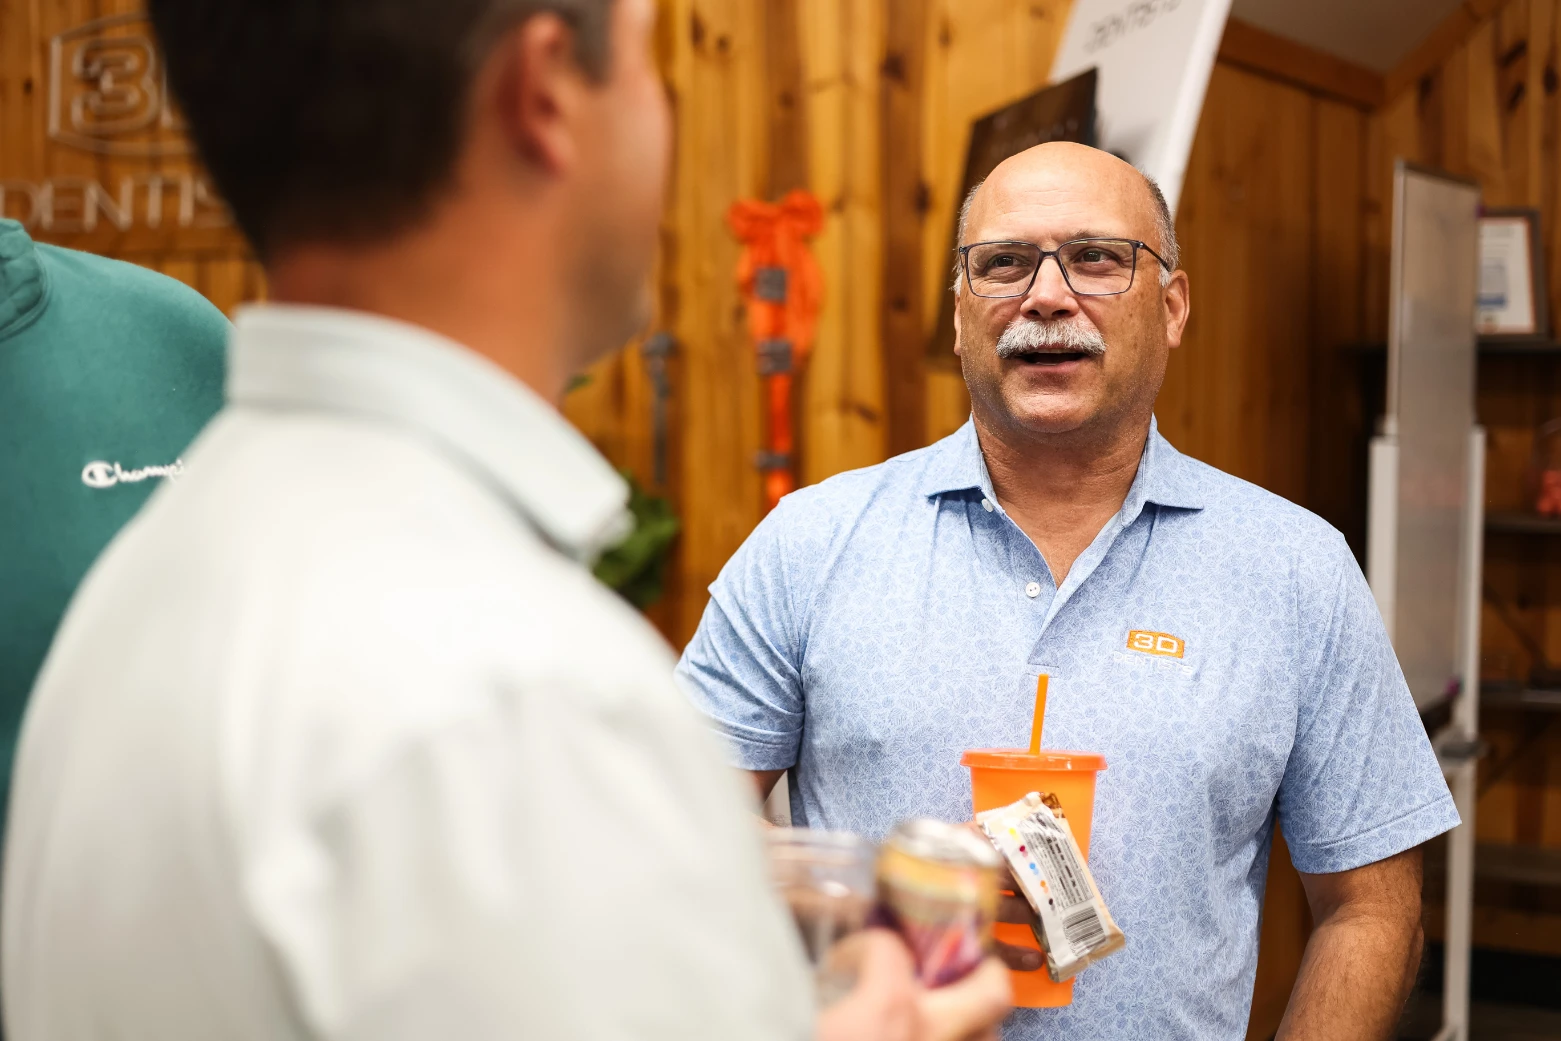
Enjoy Your Stay
The 3D Retreat Center
Train, recharge, and connect in a space made just for dentists and dental teams. All courses are held at the 3D Retreat, where hospitality and high-tech training go hand in hand.
Feel confident from day one