My goal when it comes to implant dentistry is to simplify and make things more predictable. One source of constant frustration for me has been crestal bone management around the dental implant.
This frustration has come from two current trends in implant dentistry.
- Osteotomy Sizing
- Crestal Implant Placement
Osteotomy Sizing
The current trend in implant dentistry is towards more immediate torque at time of placement. This is achieved by having tapered bodies with deeper threads or ‘fins’ on the body of the implant. With this design comes the ability to undersize the osteotomy (of course depending on bone density) to better engage the threads into the boney walls.
My go to dental implant is the 4.2mm Tapered Pro from Biohorizons with the 3.5mm restorative platform. Typically in the maxilla (softer D3 or D4 bone density) I am doing my final drill to a 3.2mm width – leaving 1mm of space for thread engagement.
Crestal Implant Placement
The second part comes from the current winds of implant dentistry favoring a slightly subcrestal implant placement. Without going deep into literature – this is favored more now with platform switching, better ‘sealed’ connections, and surface treatment all the way to the top of dental implants. In theory these principles lead to less crestal bone loss.
My go to crestal implant placement is anywhere from .5mm to 1.5mm subcrestal depending on the situation. In the anterior I tend to lean towards 1.0mm subcrestal.
The Problem & Solution
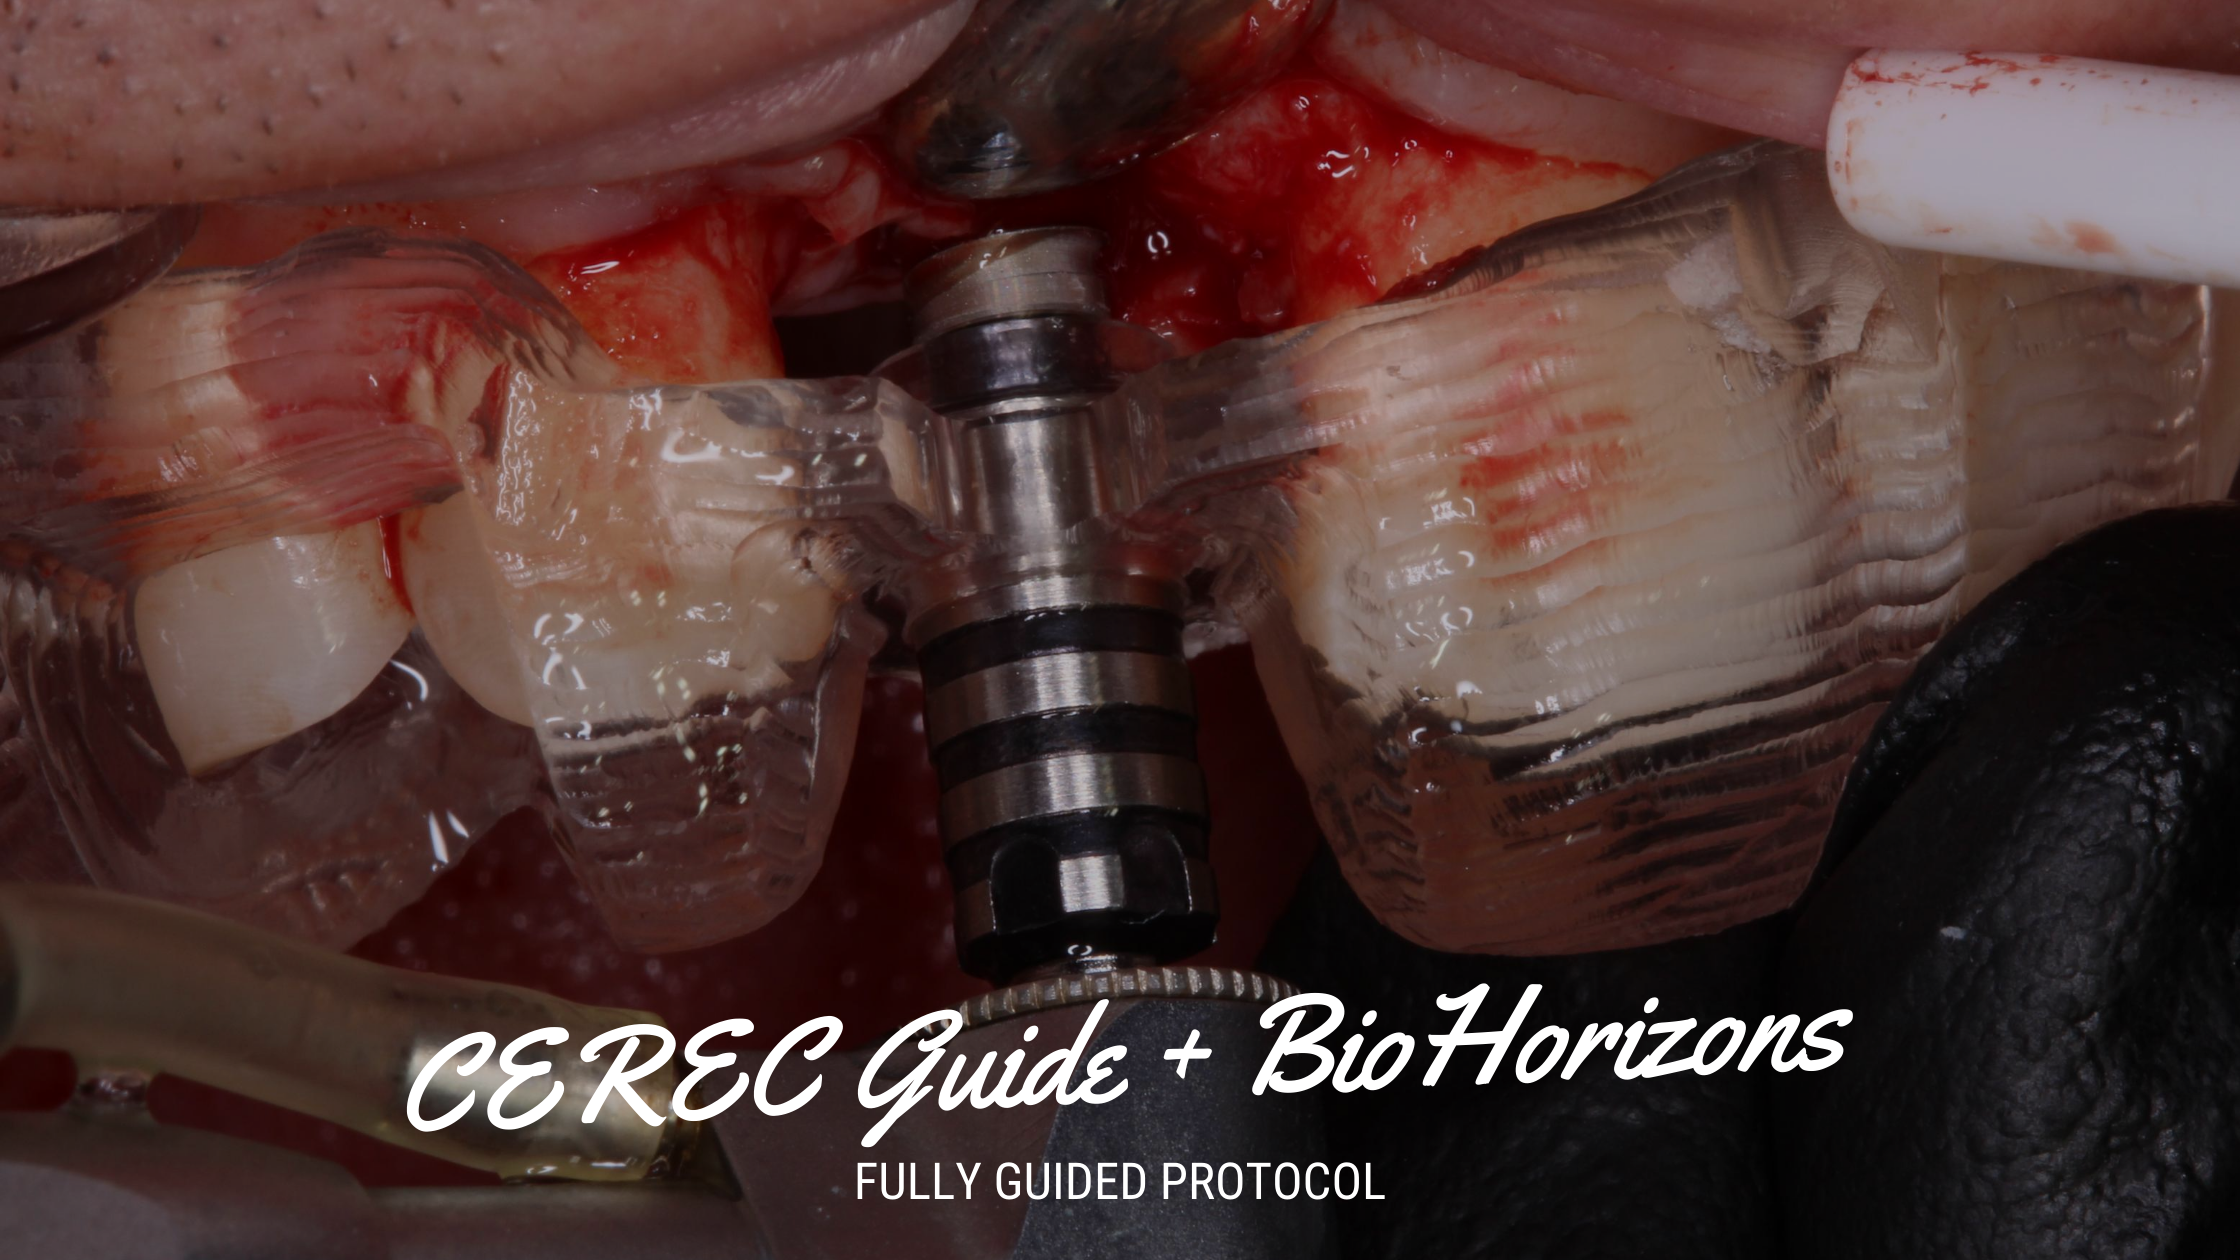
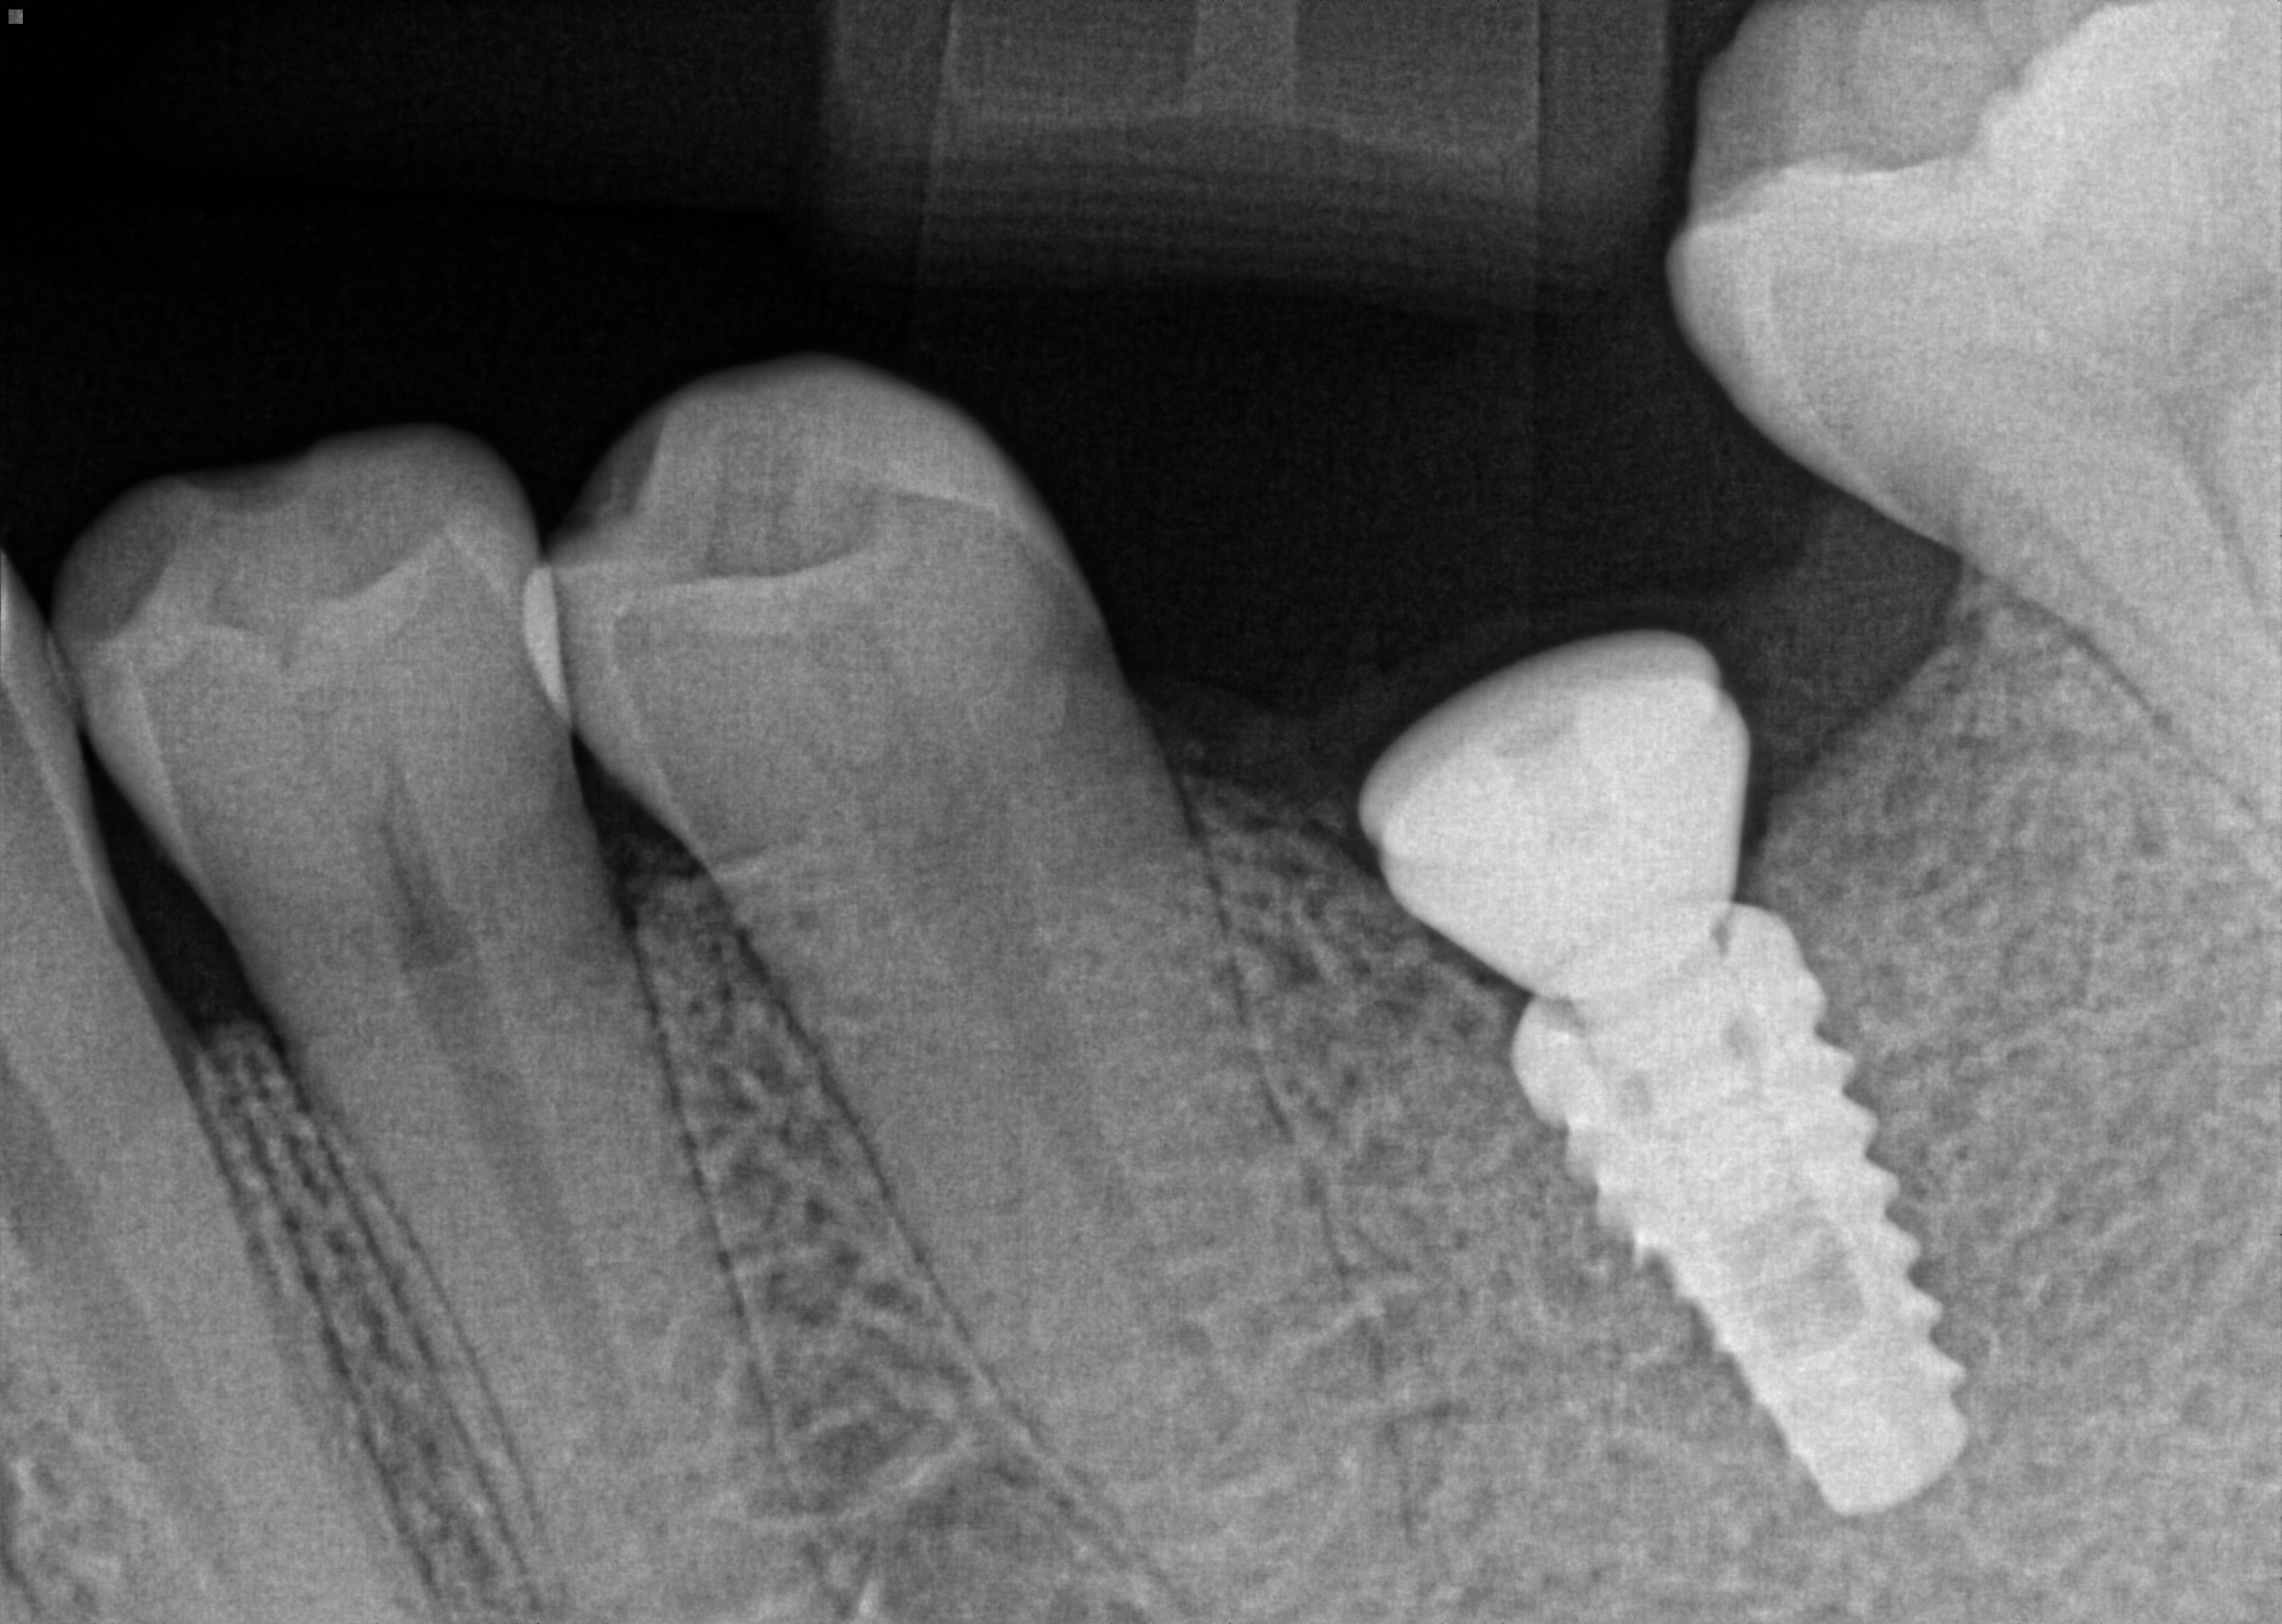
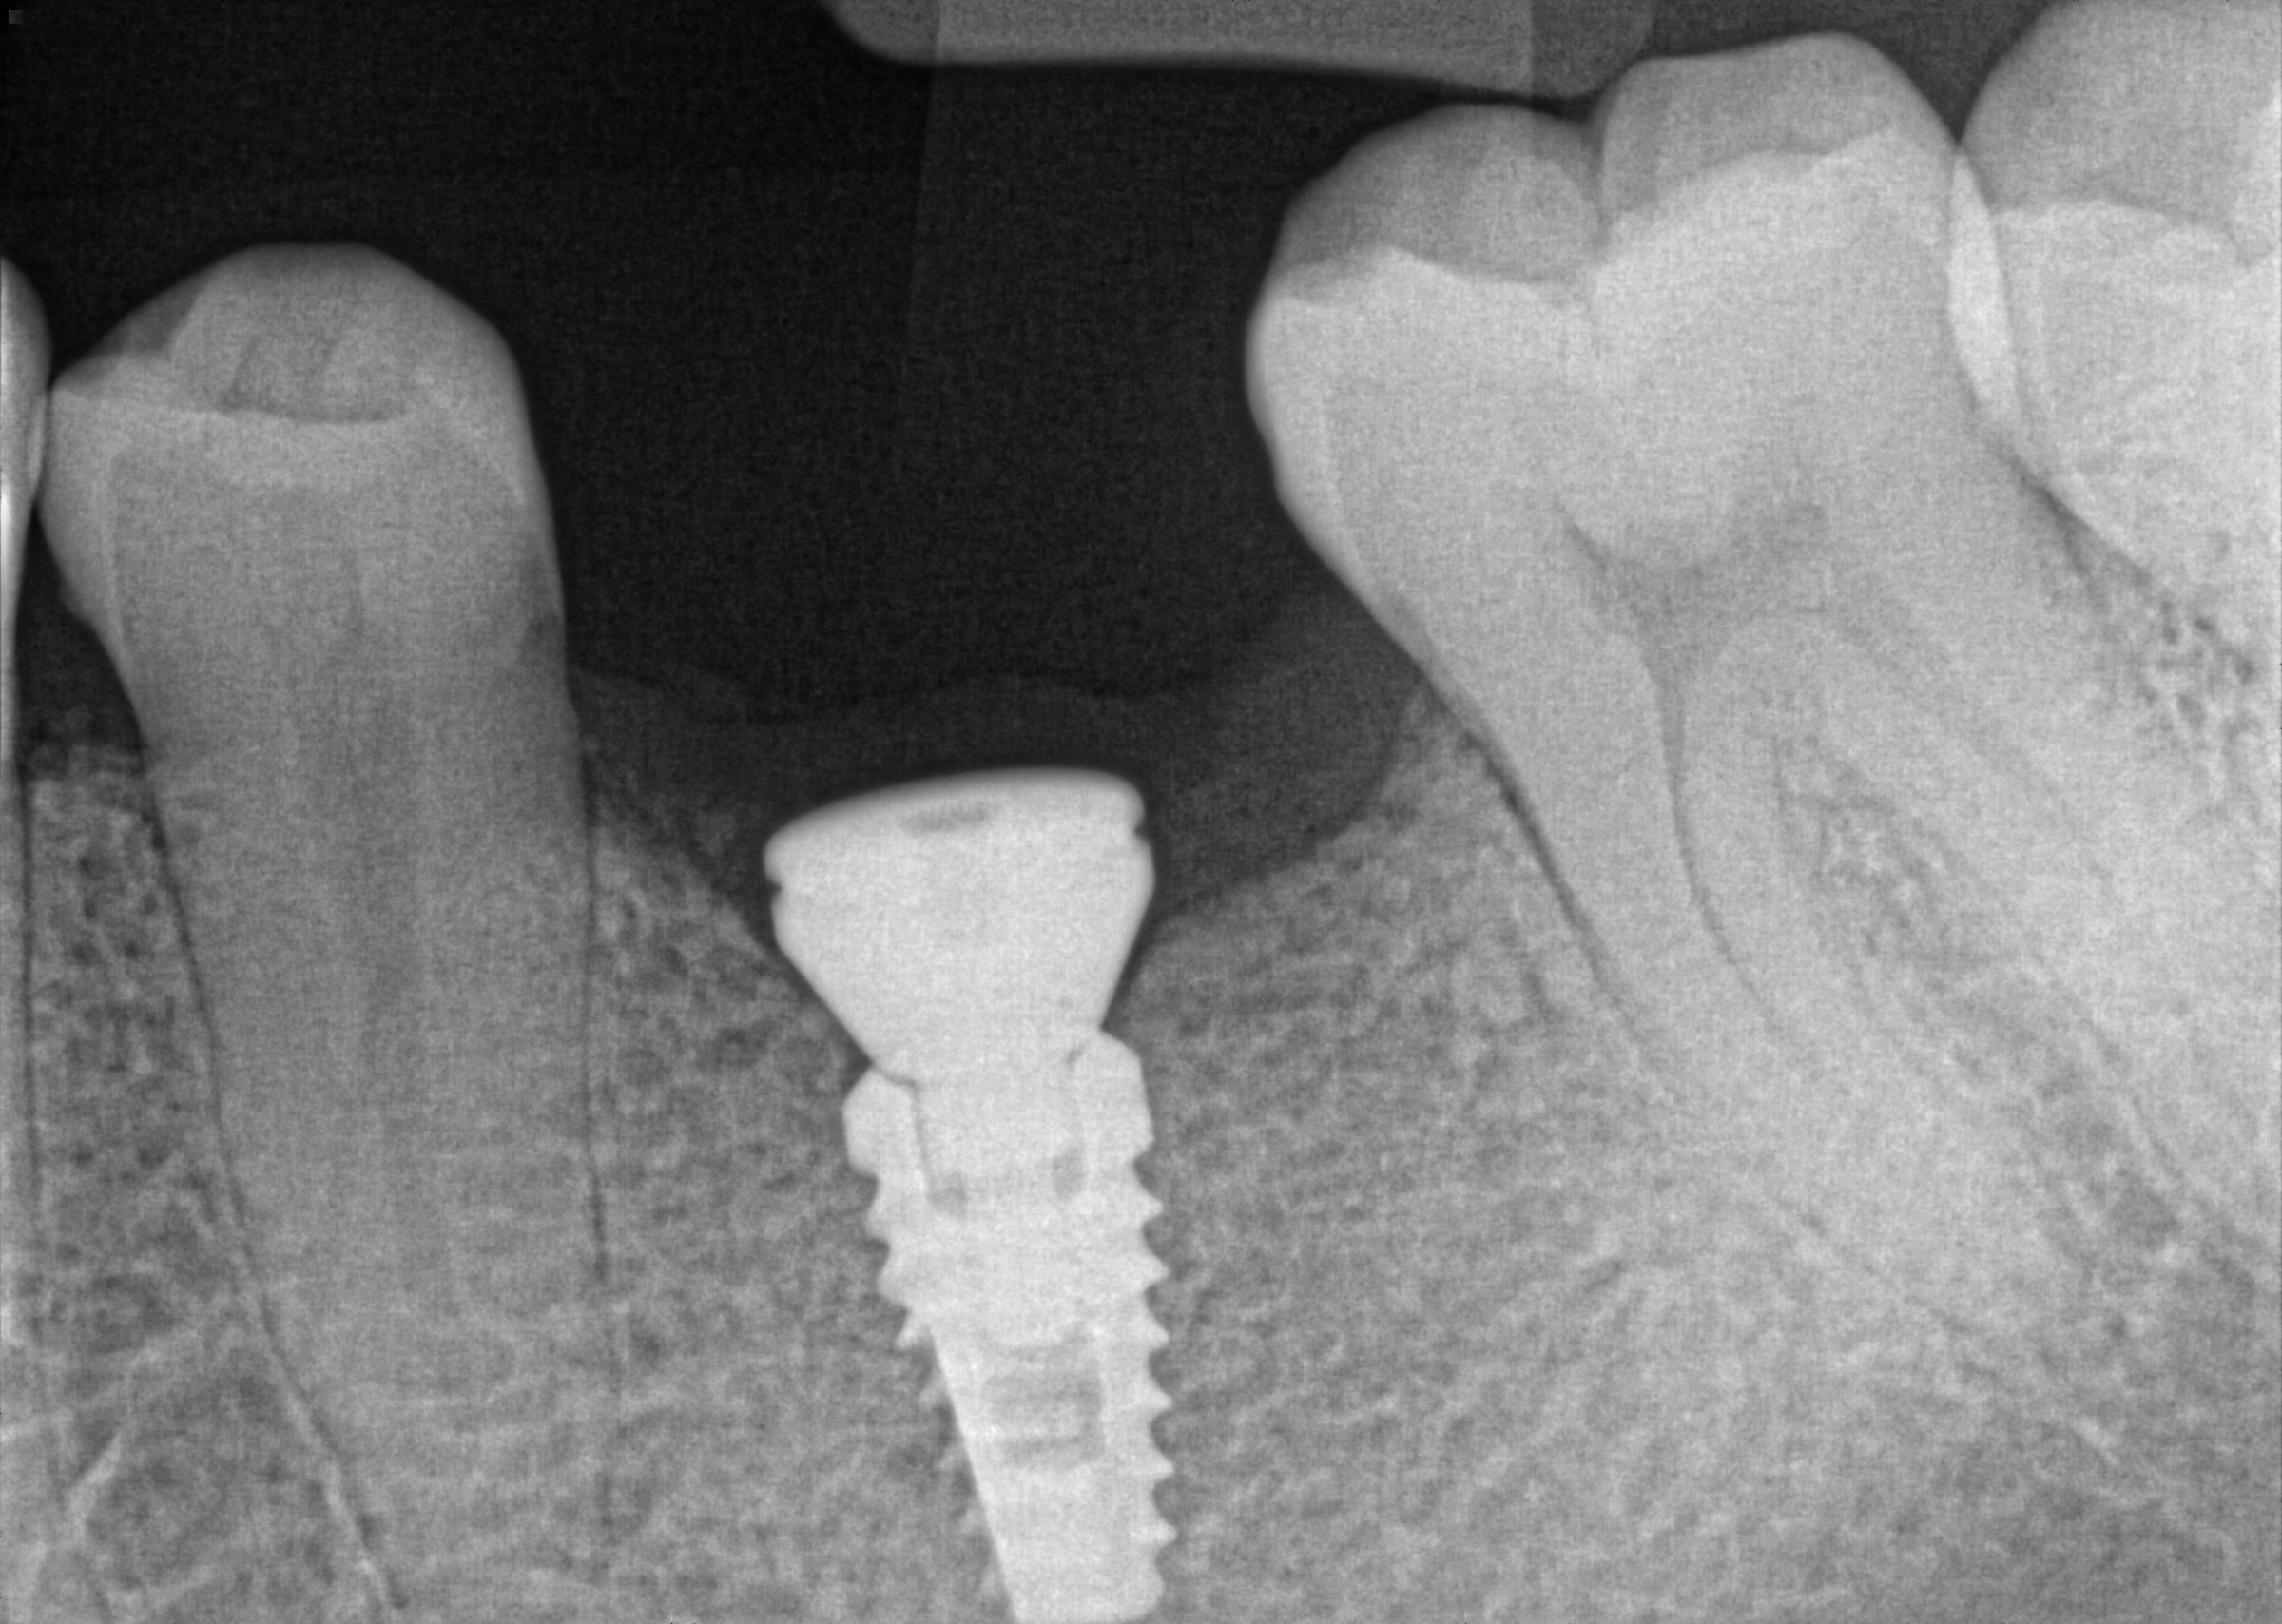
So what this leads to is the dental implant being 1mm below the bone with a ‘lip’ of bone hanging over the restorative platform. This often isn’t noticed when placing the cover screw, but becomes a big nusuance when placing healing abutments or final restorative components.
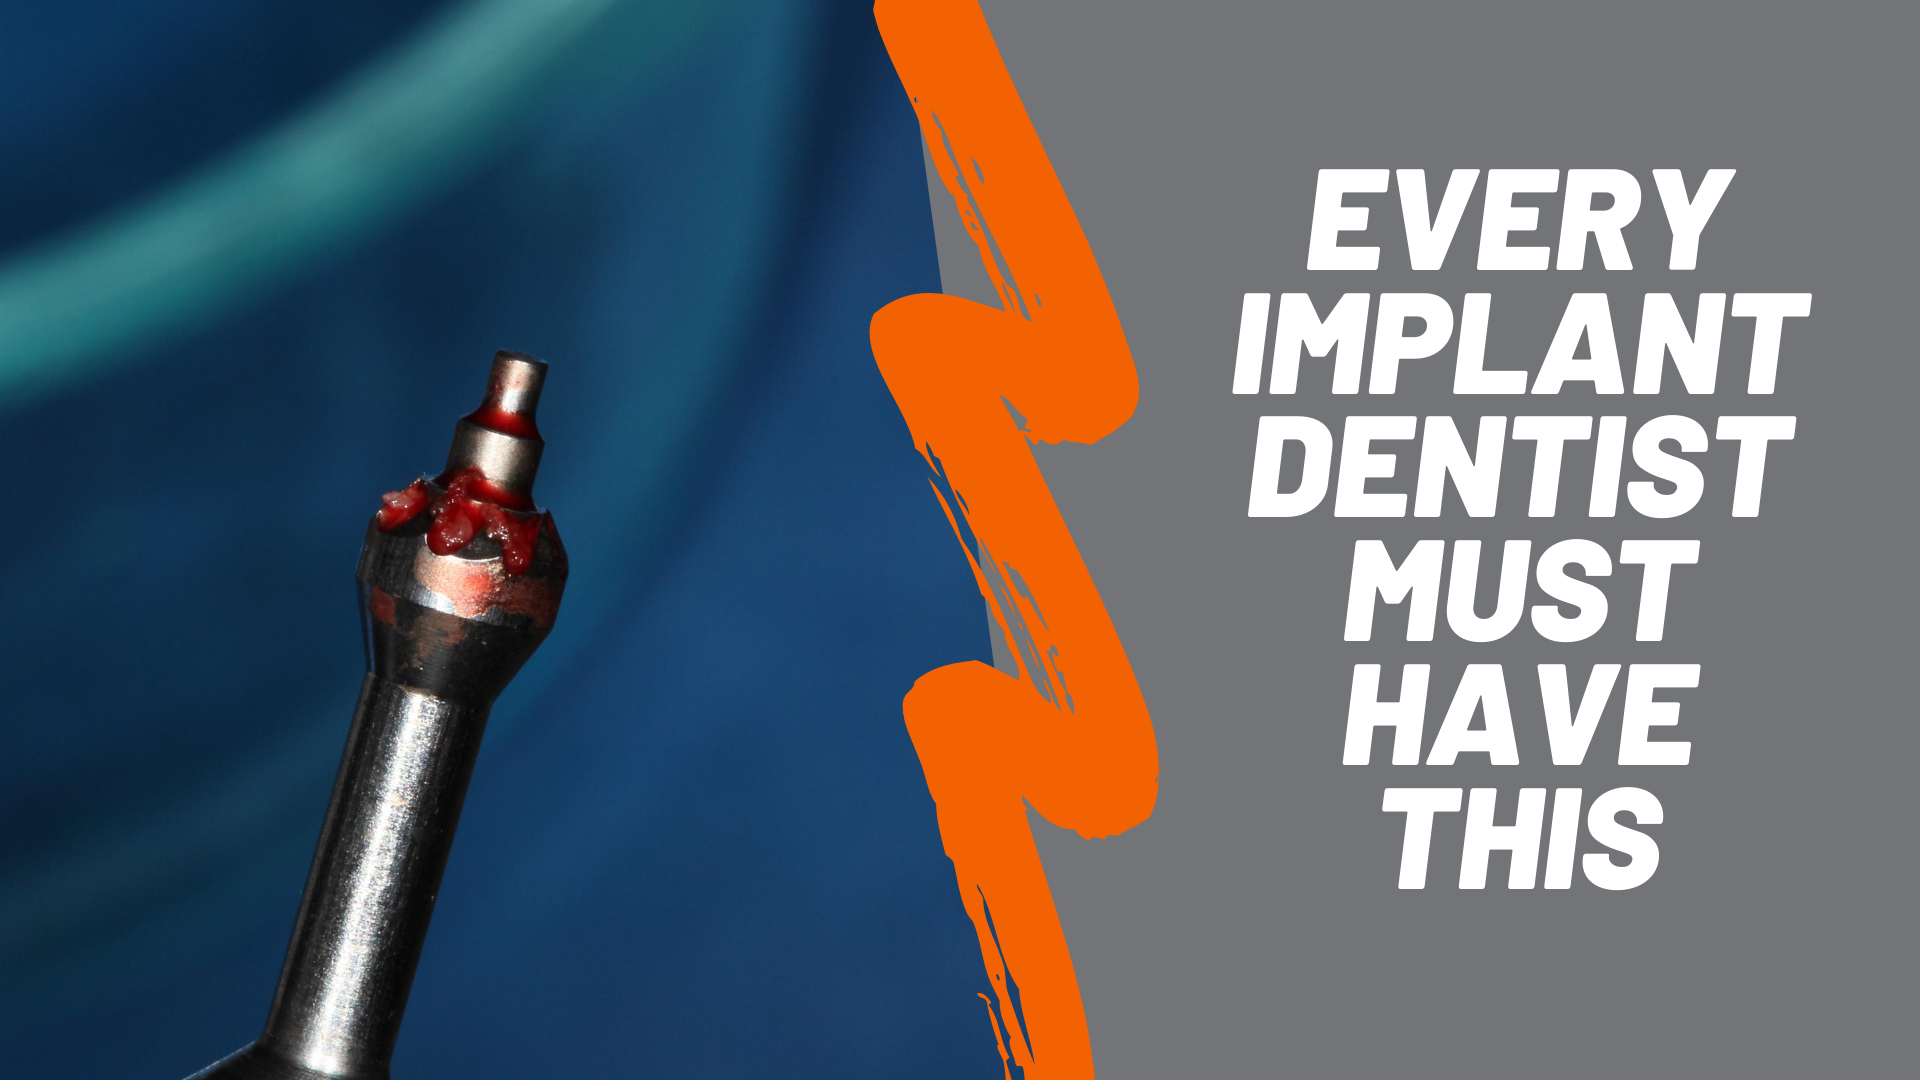
The solution is to manage the bone directly around the platform of the implant. This is best and easiest done using a bone profiler. The profiler fits into the well of the implant and has ‘teeth’ that will profile away the bone around the platform of the implant.
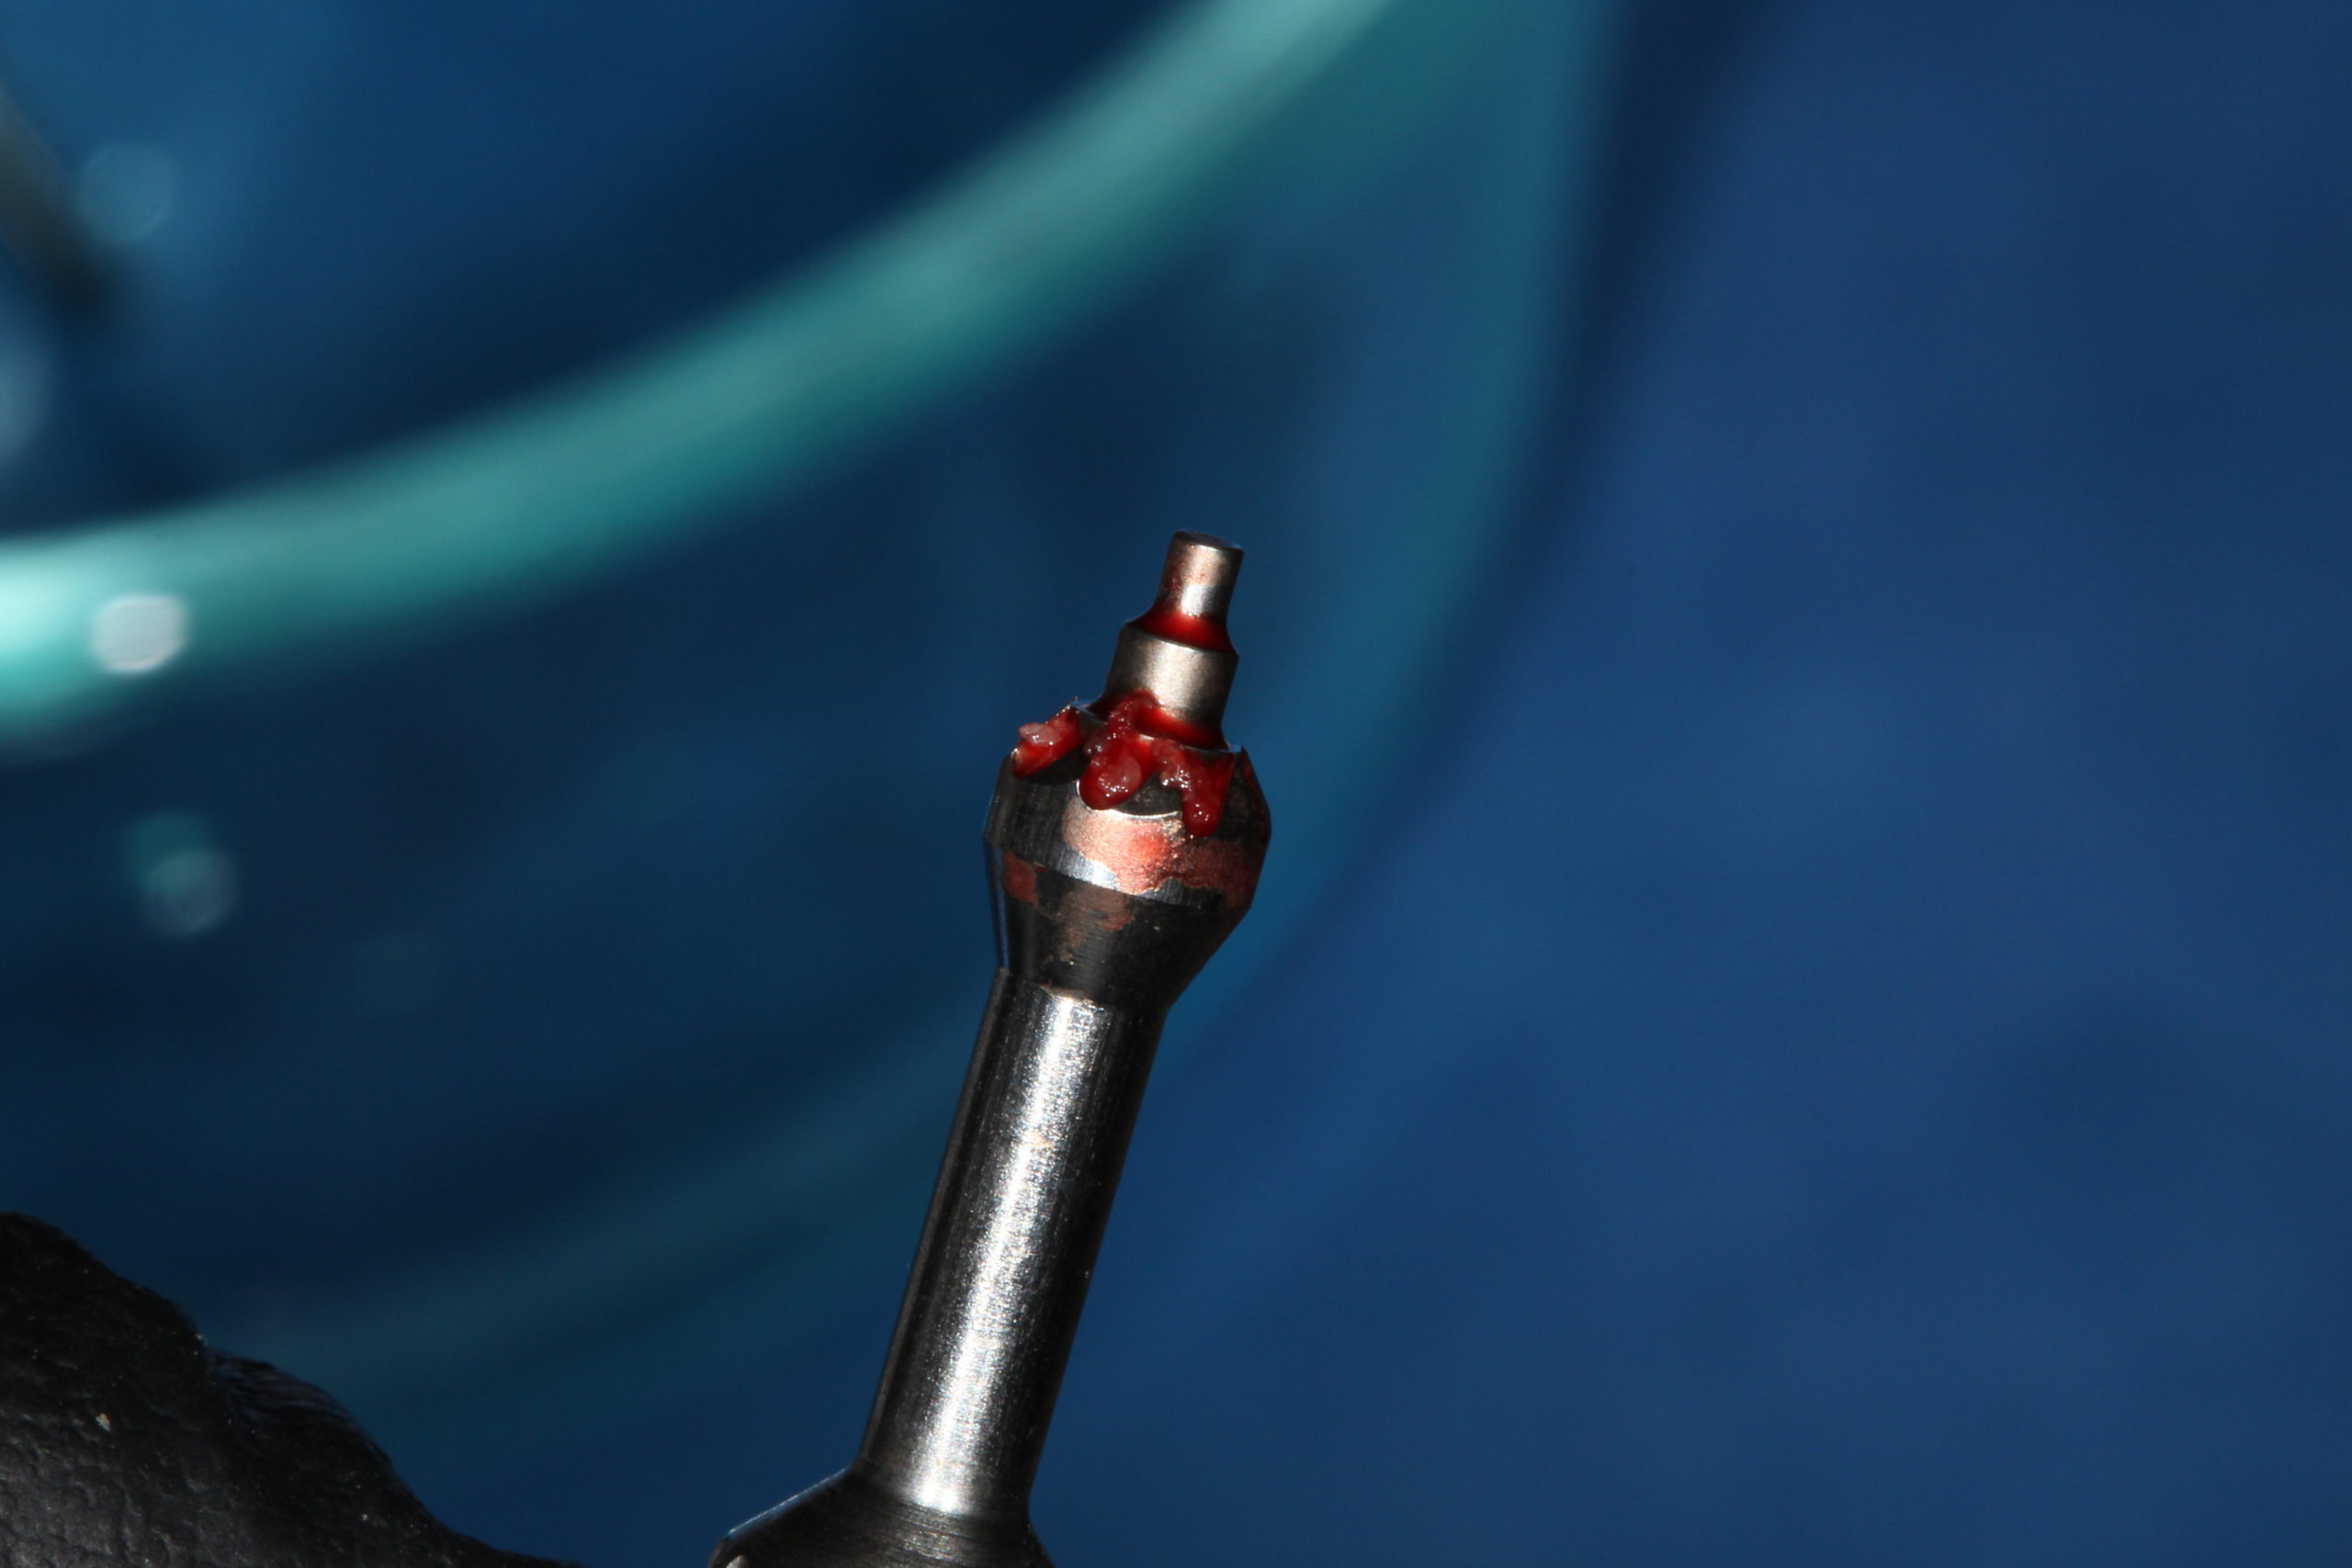
**The bone profiler should be made specifically for each implant platform so as not to deform the restorative connection or head of the implant.**
My personal preference is a single piece bone profiler. Many companies make bone profilers that are two pieces – one that screws into the implant (to protect the implant) and then a piece that goes over and around the protection piece. These work very well, but are clumsy and time consuming, in my opinion.
For those who are placing Biohorizons/Zimmer/Implant Direct (or any implant that uses the standard internal hex platform) then I highly recommend this bone profiler from Glidewell Direct.
By removing this bone allows the healing abutment or restorative components to fully seat.
Trick of the Trade
I make it standard workflow to utilize the bone profiler during every implant placement – whether using healing abutment or not. This will lead to less ‘second surgery’ at uncovery and/or restoration delivery.
The Sales Pitch
Are you looking to add dental implants to your practice or get re-invigorated? Then I invite you to consider the Digital Implant Continuum (DiC) from 3D Dentists.
This multi-session implant program with LIVE PATIENTS is focused on getting you safely started in implant dentistry using digital dentistry.