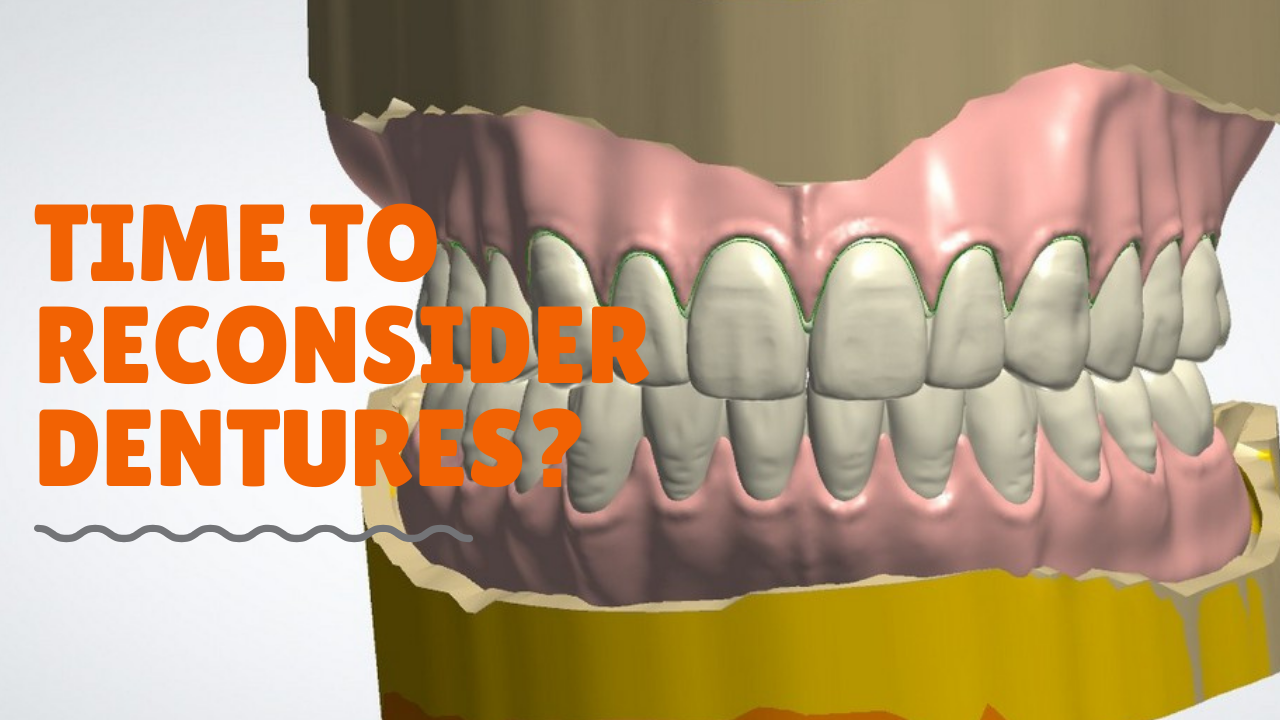
Probably the most difficult restoration in dentistry is the single anterior restoration. This is compounded when dealing with a ‘particular’ patient – one that wants excellence.
Personally I don’t fault people for wanting something that ‘melts’ into their mouth and disappears. However, what I do believe is that these patients should expect to pay more for this level of service. It is nearly impossible for a dentist to deliver this high level of aesthetics under the PPO fee schedule.
Please don’t misunderstand me. I am not suggesting that you shouldn’t participate with PPO insurance. I am not suggesting that if you do that you can’t deliver highly aesthetic dental care. I am merely suggesting that you should ask for and receive higher fees for this type of work.
In our office an we charge and ‘aesthetic upgrade’ for our cosmetic anterior work. It varies based on the patient desires and difficulty of the case, but generally it is an additional .5x of the standard crown fee.
This is explained to the patient in advance and the patient is also CLEARLY informed that this fee is above and beyond the dental insurance benefits. We have yet to have any ‘contract’ issues approaching these cases this way.
If the patient wants an anterior tooth for just the PPO fee we are happy to do so. We just clearly explain that it will not be done by our master ceramist. Insurance pays for quality dental care, but they don’t allow for high end cosmetics.
Just wanted to spend a few minutes going over this as I know many have questions about this.
Robert came to our office as a new patient. During his initial interview, our treatment coordinator discovered that he was unhappy with a crown he had done on his front tooth a few years back. The crown was initially placed due to a fracture from an accident.


As I was talking with him about this tooth I asked him to explain to me – with the aid of photographs on our big screen – exactly what he didn’t like about the tooth. I also asked him to explain in detail what it would take for him to be happy.
I asked these questions to understand his expectations and determine if this was a case I could improve upon. He really had only two major concerns – the color was too white and the crown felt thick. He even went as far as saying that I don’t expect perfection, just want it to be better than this.
I agreed that it could be better and felt that we could certainly make it better. So we agreed to accept the case and our fee for this case was 1.75x of our normal crown fee. I knew in advance that this would take some extra time to achieve the result.
I advised the patient that these types of cases average about 2 adjustments back-forth with the laboratory to get it to where I am happy. He then shared with me that he needed 7 shade adjustments to get where he was currently at.
To best communicate with the laboratory I have found that making the provisional with CEREC has been tremendously helpful. Why you may ask?
First, it allows me to pick a base shade for the lab to work from and allows the laboratory to see how this looks in the mouth. From this we can change materials based on opacity needs (like in cases of dark preps or metal posts). Secondly, it gives me the opportunity to get shape and surface texture communicated to the laboratory. Additionally, it gives me the ability to quickly ‘remill’ the restoration in another shade or make digital changes based on patient feedback.
It is my opinion, that while acrylic provisionals can be beautiful and can do much of this same communication – it simply can’t convey the same as porcelain.
In some cases, I can even mill a second crown to send to the lab to do the custom layering and beautification directly to.
Here is the preparation completed. In this case we literally removed the existing crown and only used a fine diamond to fine tune the margins and smooth everything.

The prep was scanned into CEREC and biogeneric copy was used to copy his existing crown. Then the various tools were used to thin the facial surface and verify that we could still maintain material thickness integrity. The biogeneric reference mode could also be utilized to ‘mirror’ the adjacent tooth #9.


For this case I selected an EmpressMulti B1 block for my provisional. I chose this block because it contains a very natural built in gradient and incisal translucency.

After milling and minor post mill adjustments the provisional was hand polished only. No custom staining or glazing was performed.


The photos were sent to the lab along with a second milled restoration for reference purposes. After discussion with the laboratory we determined that we would utilize eMax for our final restoration with custom layering.

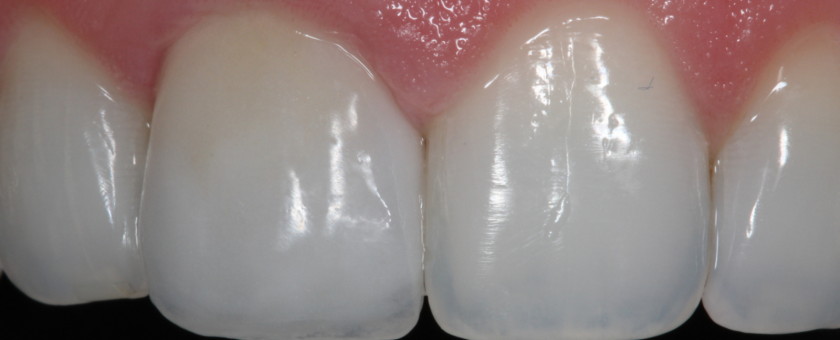
The restoration was tried in using trial gels, approved by the patient, and seated in the mouth.


Here is a photo of the case progression – before, cerec temp, final restoration.

I quickly admit the case isn’t perfect. There are tweaks that can be done to make it better. But this case took only two trips back-forth with the lab to achieve this result. I firmly believe this is much in part to our use of porcelain as our provisional material and photo documentation for communication.