Clear aligner therapy has become a massively exciting choice for orthodontic treatment with general dentists due to its aesthetic appeal, patient convenience, minimal inventory for the office, and the ability to scale. However, achieving successful outcomes with clear aligners requires careful and detailed treatment planning. Beware of just submitting a case and trusting the company’s algorithm or lab technician to do all of the work. In this blog post, we will guide you through a step-by-step process to master clear aligner treatment planning and optimize patient results.
Understanding the Basics
Before delving into the specifics of treatment planning, it’s crucial to have a solid understanding of the fundamental principles of clear aligner therapy. Clear aligners work by applying controlled forces to gradually move teeth into their desired positions. Unlike traditional braces, clear aligners are removable and virtually invisible, offering patients a discreet orthodontic solution. Also, unlike brackets and wires which have the prescription of movement built into the bracket, with clear aligners we are able to detail our prescriptions for each individual tooth. Because of this, knowing the HOW teeth move with aligners is critical.
Step 1: Comprehensive Patient Assessment
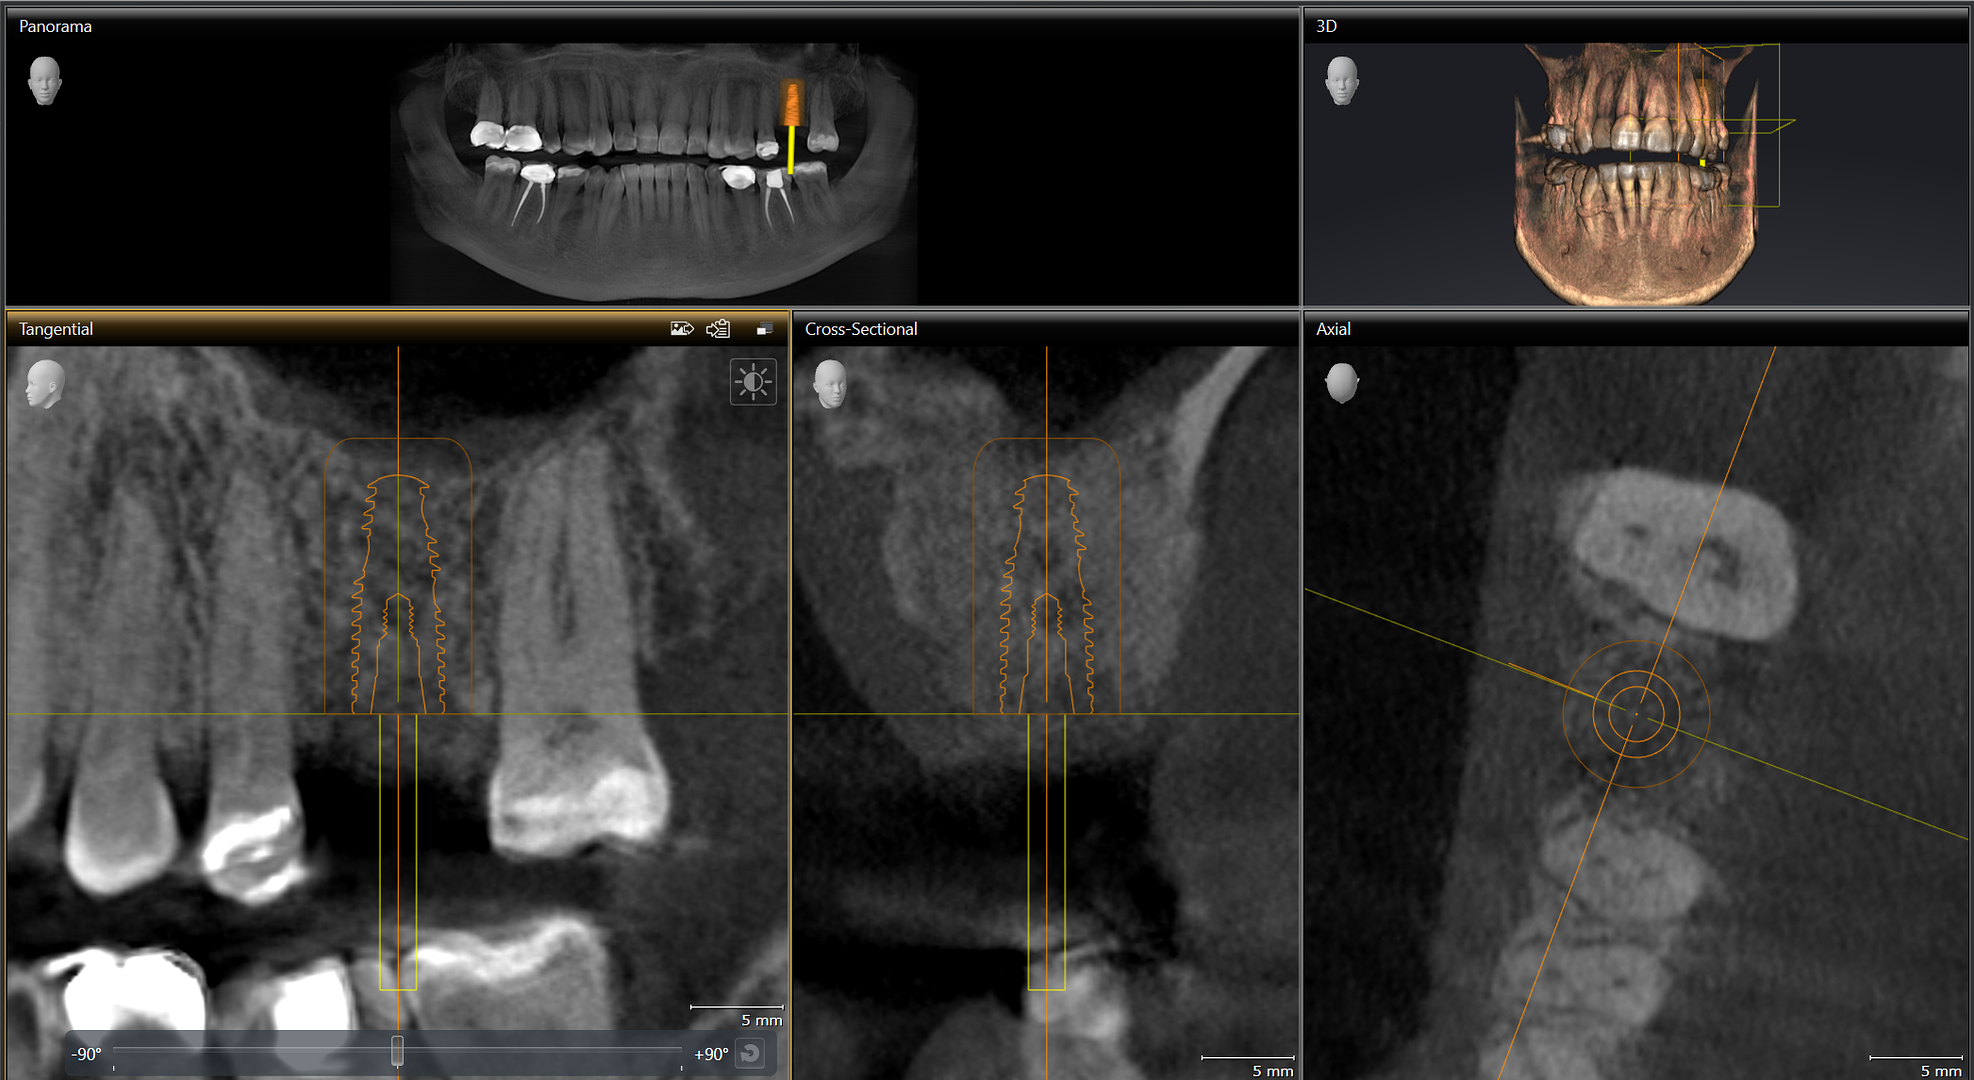
The first step in clear aligner treatment planning is conducting a thorough patient assessment. This involves obtaining a detailed medical and dental history, performing a comprehensive clinical examination, and capturing high-quality diagnostic records. Utilize digital impressions, photographs, and X-rays to create a comprehensive view of the patient’s oral health. It is important to remember that when providing orthodontics, our records need to be up to the standard of care set forth by the specialists. Take time to train your team on how to take the pictures and scans required. That way, whether it’s a new patient consult or an existing patient in the hygiene chair, the team is able to get the records needed at that appointment.
Step 2: Case Selection and Diagnosis
Not all malocclusions are suitable for clear aligner therapy. Assess the complexity of each case and determine whether clear aligners are the appropriate treatment modality. Cases involving severe crowding, complex bite issues, or significant skeletal discrepancies may require alternative orthodontic approaches. Just like in true 3D Dentists fashion, we educate on how to determine “green light, yellow light, and red light” cases. Know how to spot the red flags, stick the green light cases, and get some wins under your belt. Knowing what NOT to treat is just as important as knowing what to treat.
Step 3: Digital Treatment Planning
Digital technology plays a pivotal role in clear aligner treatment planning. Spend time studying and playing with your company’s treatment planning software. Utilize advanced software to create a 3D model of the patient’s dentition and simulate tooth movements. Digital treatment planning allows for precise control over tooth positioning, enabling you to visualize the expected outcome before initiating treatment. Also, understand that the simulation you are seeing is a representation of forces applied to the teeth, not the final position. So if you build in over-corrections like I recommend in my classes, you’ll want to embrace “ugly” simulations.
Step 4: Aligner Fabrication
Once the treatment plan is finalized, proceed to fabricate the clear aligners. This will be done by the aligner company you are using, or can be done in-house utilizing 3D printing technology to create customized aligners tailored to the patient’s unique dental anatomy. Get familiar with the turnaround times with your aligner company of choice so you know how to schedule effectively in your practice.
Step 5: Patient Education and Compliance
Clearly communicate the treatment plan to the patient, emphasizing the importance of compliance. In my opinion, this is best done by your orthodontic assistant or ortho champion. Educate patients on proper aligner wear, oral hygiene practices, and the significance of adhering to scheduled appointments. A well-informed and compliant patient is more likely to achieve optimal results. Keep it simple: “Unless you’re actively eating food or brushing your teeth, your aligners need to be in your mouth”.
Step 6: Monitoring Progress
Regularly monitor the patient’s progress throughout the treatment. I don’t recommend just throwing the box of aligners at the patient and saying “Here you go! See you in 6 months”. Utilize progress check appointments to assess tooth movement, address any concerns, and make necessary adjustments to the treatment plan. Monitoring progress allows for timely intervention and ensures that the treatment stays on track. In our office, we use an 8 week schedule to monitor the patient’s progress.
Step 7: Refinements and Adjustments
In some cases, mid-course corrections or refinements may be necessary to achieve the desired outcome. Digital treatment planning allows for flexibility, and adjustments can be made to the aligners as needed. Keep the lines of communication open with the patient and address any concerns promptly. While some gurus suggest that your refinement rate is over 20% that you’re doing something wrong. I believe that if you care about details, you’re going to have more refinements than that. But at the same time, we want to be as efficient as possible while keeping excellence high. That’s why I set a refinement rate of 50% or less as a goal for most practices.
### Step 8: Completion and Retention
Upon completion of the treatment plan, transition the patient to retention. Fabricate retainers to maintain the achieved tooth positions and prevent relapse. Emphasize the importance of retainer wear to ensure the longevity of the treatment results. If moderate to severe crowding on the lower incisors, I recommend offering fixed retention as these teeth are the most prone to relapse.
Conclusion
Mastering clear aligner treatment planning requires a combination of clinical expertise, digital proficiency, and effective communication with patients. By following this step-by-step guide, you can enhance your ability to plan and execute successful clear aligner therapy, providing patients with a functional, beautiful smile that they love. Your aligner patients can become some of your biggest raving fans. If you would like more training on how to take your clear aligner practice to the next level in 2024, check out our Scaling Your Clear Aligner Practice course in Raleigh at the 3D Retreat Center February 8th-9th or August 15th-16th!