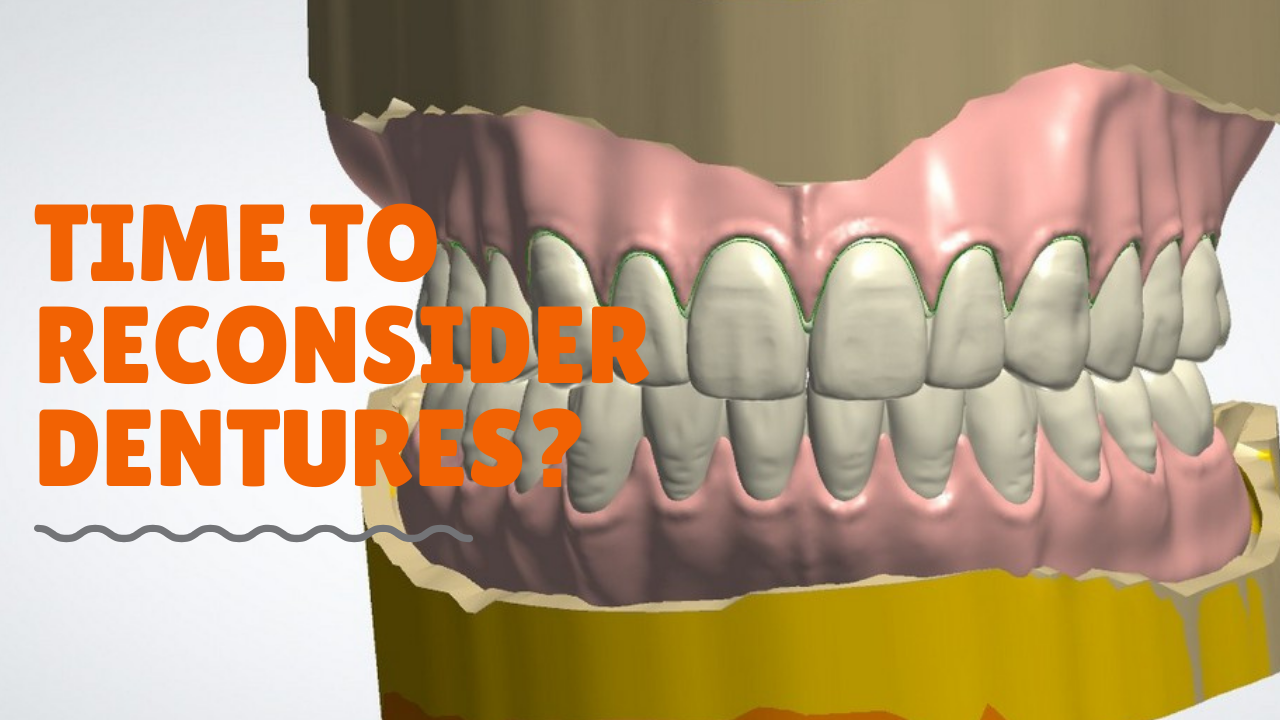
There is an art to smile design. Simply hoping to satisfy the needs of the patient isn’t always enough – patients aren’t trained to recognize what is possible. The following case is an example of utilizing smile design principles and photography to achieve results.
** I recognize that ideally this case could (and should) be done with ortho vs restorative treatment. But we must choose our battles. I sleep well at night knowing that I offered all the options to the patient. **
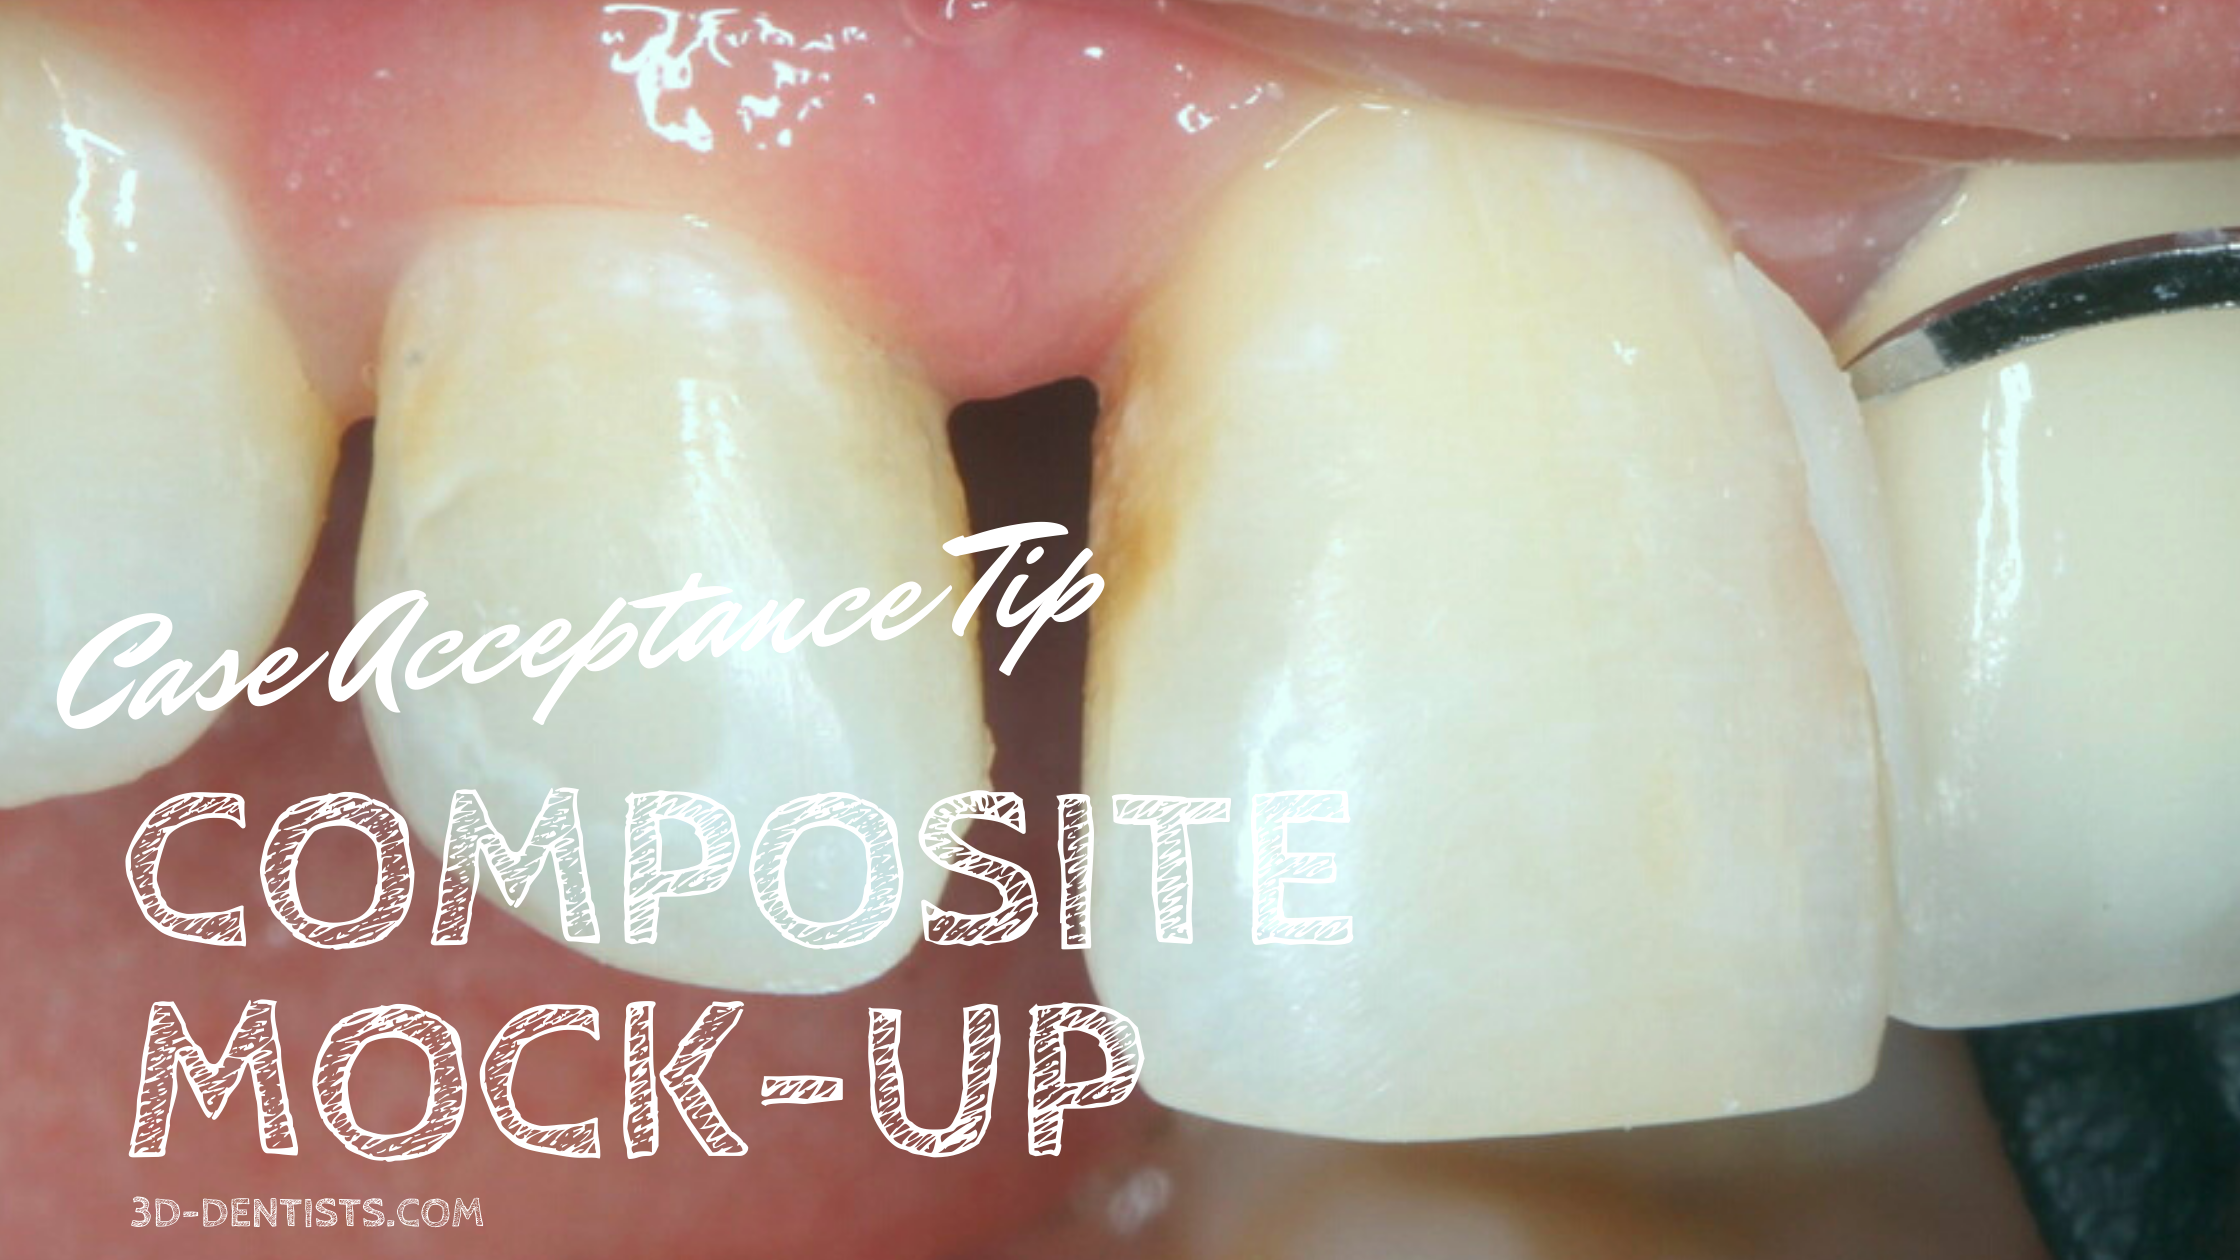
Mr. Jones came to our office unhappy with his smile.

We discussed several options – whitening, orthodontics, bonding, veneers, and/or combination of several of these. He wasn’t sure what exactly would achieve his goals. After discussing some more and listening closely we determined that he was unhappy with shape and spacing of his front four teeth. We chose to focus our treatment on the anterior four (#7 to #10).
After doing a digital smile analysis I discovered that tooth #9 was going to be problematic to achieve a great result. The tooth was distalized and needed to be moved mesially. Ideally this is accomplished via orthodontics, but can also be achieved restoratively through aggressive preparation. In this case the patient opted for restorative.
With all our smile cases our first step is to whiten the teeth. We do this to improve the smile so the restorative isn’t so obvious. This is especially important when doing less than 10 teeth. I try to avoid a big difference between porcelain and natural tooth.

After whitening the next step is restorative. My first step is to ‘scribe’ the margin prior to any tissue modification. This way I know where the natural margin line is and not confused when (if) we place cord or laser the tissue. I want to avoid leaving my supragingival when it needs to be subgingival and subgingival when I want it supragingival.

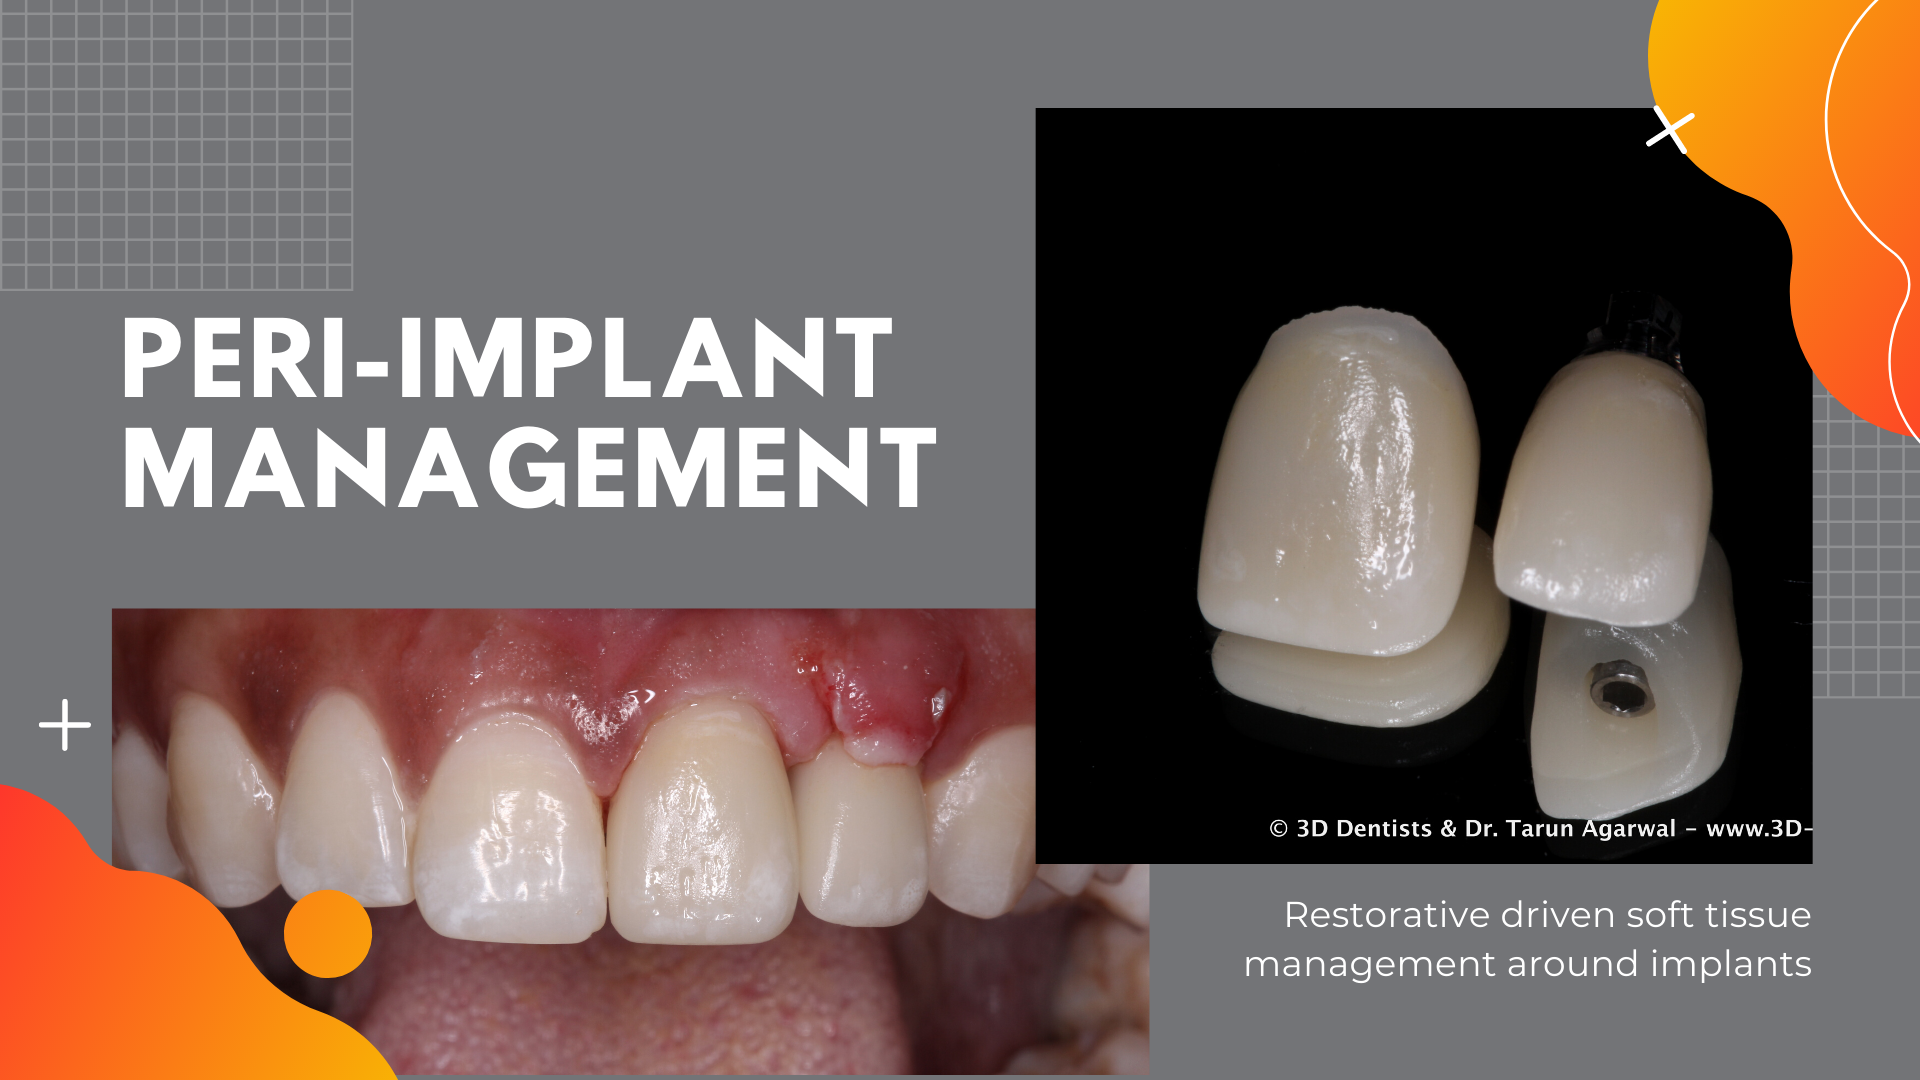
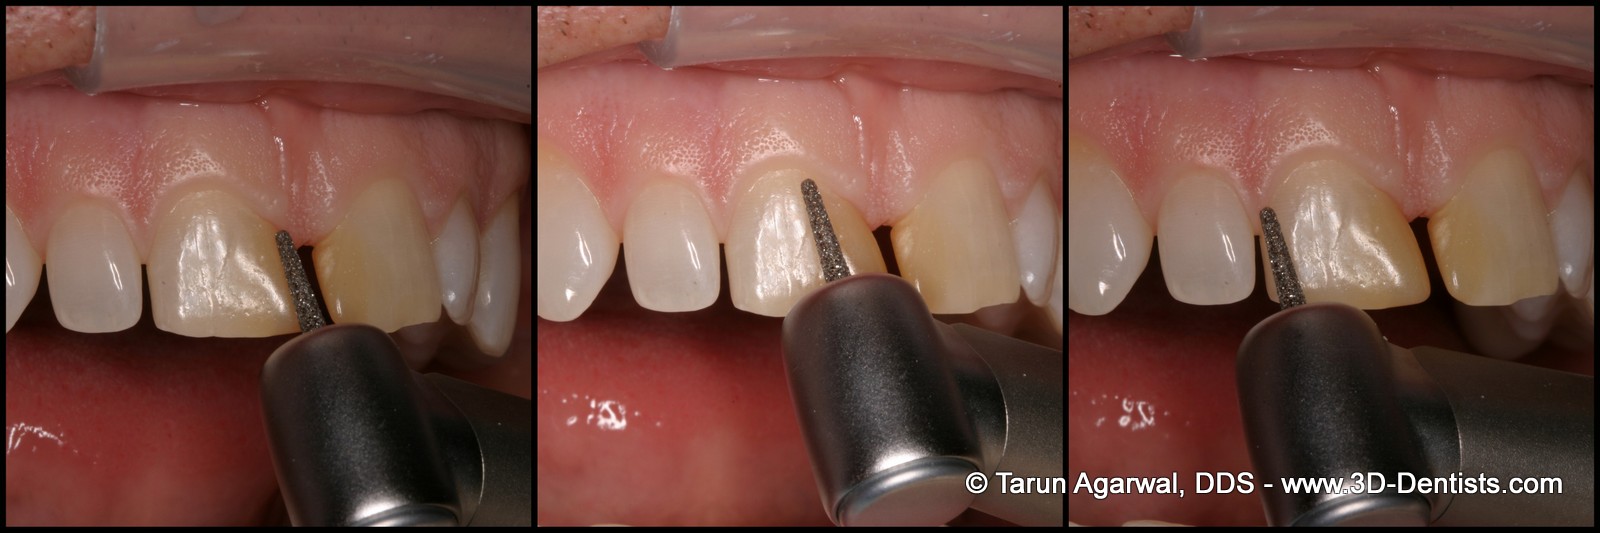
When closing a diastema it is important to carry your margin subgingival to allow room for the restoration to emerge and avoid the dreaded black triangle. It is also creates a more natural hygienic form for the patient.

In this case we now need to ‘slenderize’ tooth #9. This is done based on the golden proportions from our digital smile design. The tooth is slenderized and then a fine bur is used to slenderize the root as well. After this room for the porcelain is created.

Final impressions are taken, ‘test drive’ provisionals are made, and case is sent to the lab. I make effort to stay in contact with the laboratory throughout the case and make use of digital communication to achieve excellent results. Personally, I prefer to approve each step of the case – waxup, contouring, and final glaze prior to case being back to the office. This allows me to catch any issues and also communicate with patients how the case is coming along.

The case is returned to the office and bonded in place. The result is a beautiful, harmonious smile.