The rubber dam is not something I was a huge fan of. I always found it cumbersome to put on and patients don’t like it. It is the standard of care for endo and I don’t do any RCT’s in my practice so have never used the rubber dam a whole lot.
But you can’t deny the fact that the rubber dam provides a very well isolated field to do restorative work.
In the Cerec world, it would be hugely beneficial if we use the rubber dam for bonding our restorations as that would take away the stress of trying to isolate with saliva, blood and fluids flowing all around the place. I believe it is a standard of care for restorative work in other parts of the world and have always been intrigued in how they use it in an efficient manner.
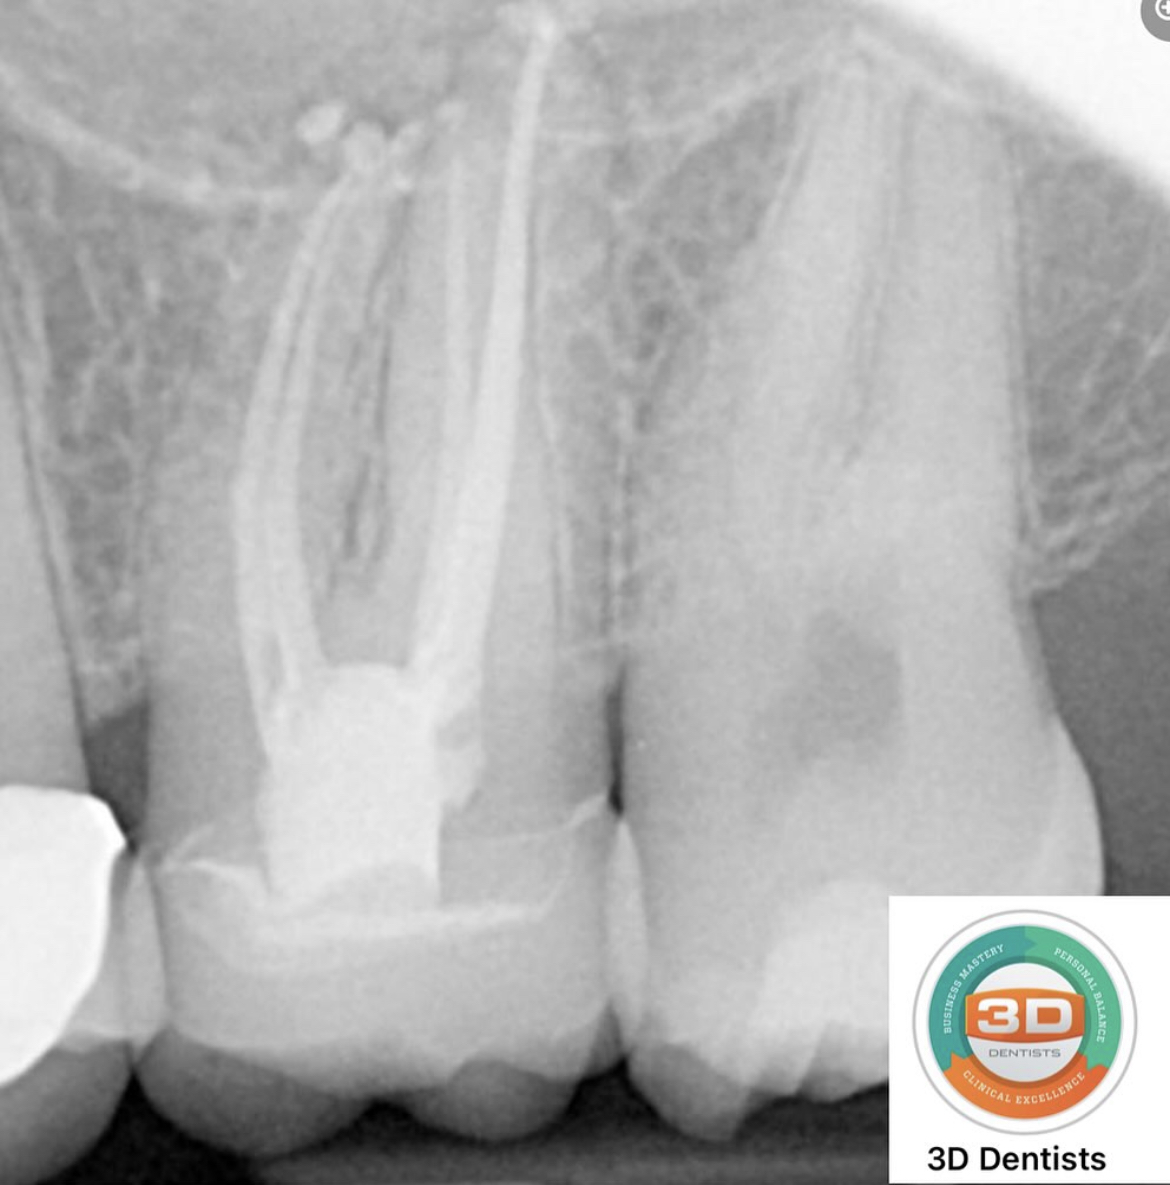
Here is a case that I recently did where I finally figure out how to use the rubber dam for cementing crowns. Patient presented with a tooth #13 treated with RCT


After try in, the crown was cleaned and stained and put in the oven for crystallization. About 5 minutes before the crown was ready for cementation I started putting the rubber dam in an attempt to be efficient with my appointment time. A double loop floss ligature was used to push the rubber dam below the margin and slowly tightened to get complete exposure of the margin and a clean , isolated operative field.


I really enjoyed using the rubber dam for cementing this restoration. The total appointment time was about 1 hour 50 minutes and that included the time to put the rubber dam and to stop and take pictures for all the steps. I found it to be very stress free to cement the crown knowing that I had isolated the tooth the best I can. This helped me achieve the best bond strengths in the absence of any fluid or moisture. Also using Teflon tape in addition to the rubber dam ensured that the cement clean up was very easy. Yes, it does take a few attempts to understand how to use the rubber dam, but once you get the hang of it you will find it hard to go back. I hope this post was helpful in understanding the use of a rubber dam for cementing Cerec restorations.
If you would like to learn more tips and tricks on Anterior Cerec join me at my workshop on June 1st and 2nd in Raleigh, North Carolina at 3D Dentists. Click on the link below for more details.
http://tbonespeaks.wpengine.com/cerec-anterior/


